

Updated May 13, 2026
Scan to Email Troubleshooting Solved: A Expert How to Guide
Table of Contents
Did you know that 67% of office workers report losing over 15 minutes daily due to scanner and printer issues?
I was definitely one of them until I mastered the art of troubleshooting!
If you’ve ever stared at your printer in frustration after yet another failed scan-to-email attempt, you’re not alone.
After setting up and maintaining scan-to-email functionality for hundreds of devices across multiple organizations, I’ve encountered (and solved) virtually every problem imaginable.
This comprehensive guide will walk you through everything you need to know about scan-to-email troubleshooting, from basic setup to advanced configuration options.

Understanding Scan to Email Fundamentals
Scan to email is a powerful feature available on most modern multifunction printers that allows you to scan a document and automatically email it as an attachment—eliminating the tedious process of scanning to your computer first, then manually attaching files to emails.
It’s incredibly convenient when set up correctly, but can be frustratingly complex when things go wrong.
Behind the scenes, your printer is actually functioning as an email client.
It captures the document image, converts it to your chosen file format, and uses your configured email settings to send the document through an SMTP email server.
Required Components for Scan to Email Setup
Setting up scan to email requires several key components:
- SMTP Server – This mail server handles sending your scanned documents (like smtp.gmail.com or smtp.office365.com)
- SMTP Port Numbers – Common ports include 25 (standard), 587 (TLS), and 465 (SSL)
- Authentication Credentials – Email address and password (often requiring app-specific passwords)
- Network Connection – Stable internet access for your printer
For Gmail users especially, creating an app-specific password has become essential as Google has tightened security measures—a critical step that resolves many authentication issues.
Common Brand Configurations
Different printer brands have their own unique setup processes, but they all require similar information:
HP Printers typically use the Embedded Web Server (EWS), accessed through the printer’s IP address in a web browser.
Canon Printers often need specific settings under “Function Settings > TX Settings > Network Setting – E-Mail/I-Fax Settings” and typically require changing from port 25 to port 587.
Brother Printers require configuring both POP3 and SMTP settings through their web interface, often needing “SMTP-AUTH” enabled for proper authentication.

Email Server Configuration Issues
Email server issues are typically the most common culprits when scan to email functionality fails.
These problems usually manifest as “unable to connect to email server” errors that can be incredibly frustrating when you’re trying to send an urgent document.
Understanding SMTP Servers and Their Role
The SMTP server functions as the digital post office for your scanned documents.
When your printer prepares the “letter” (your scanned document) and addresses it, the SMTP server handles the actual delivery process.
Without proper configuration, your documents have nowhere to go!
How to Check and Verify SMTP Settings
Incorrect SMTP settings are often the root cause of sending failures. To verify your settings:
- Confirm the exact SMTP server address with your email provider
- Verify your username matches your email account exactly
- Test your password (consider using app-specific passwords)
- Confirm you’re using the correct port number
Most printers include a “Test Connection” function in their email setup menu—use this liberally to confirm your settings before attempting to scan actual documents.
Selecting the Correct Port Numbers
Port selection can make or break your scan to email functionality:
- Port 25: Traditional SMTP port (increasingly blocked by ISPs)
- Port 587: Modern TLS/STARTTLS port (recommended for most setups)
- Port 465: Legacy SSL port (used with some older systems)
In most cases, port 587 offers the best combination of security and reliability, but check your email provider’s documentation for their specific recommendations.

Printer-Computer Connection Problems
Connection issues between your printer and computer can prevent scanning even when the printer itself is functioning perfectly.
These problems typically manifest as your computer not recognizing the scanner or communication failures during the scanning process.
Ensuring Computer Recognition of the Scanner
When your computer sees the printer but not its scanning capabilities, try these solutions:
- Check if your device appears in the “Scanners and Cameras” section of Device Manager
- Install the full-feature driver package rather than the basic printer driver
- Look for your scanner in specialized scanning software like the Windows Scan app
- Verify the scanning function is enabled in your printer’s configuration
Sometimes simply uninstalling and reinstalling the correct driver resolves recognition issues immediately!
Diagnosing Networked Scanner Problems
Networked scanners add complexity with potential issues like:
- IP address changes (always use static IPs when possible)
- Network visibility problems (ensure printer and computer share the same network)
- Firewall blocking (temporarily disable firewalls to test connectivity)
- Network traffic limitations (some networks restrict large file transfers)
If you’re using a wireless connection, position your printer where it has strong signal strength—a simple location adjustment can sometimes resolve persistent connection issues.
Restarting Print Services and Spoolers
For mysterious scanning problems, try restarting Windows print services:
- Press Windows+R and type “services.msc”
- Find “Print Spooler” in the list
- Right-click and select “Restart”
- Check for brand-specific services that might need restarting
This quick fix resolves a surprising number of scanning issues and should be one of your first troubleshooting steps, not a last resort!

Printer-Specific Diagnostics and Resets
Most modern printers include built-in diagnostic tools that can identify (and sometimes fix) scanning problems.
Learning to use these tools effectively can save you from unnecessary service calls and expenses.
Running Diagnostic Tests by Brand
Different brands offer various diagnostic options:
HP Printers: Look for “Support Tools” or “Troubleshooting” in the control panel, or use the excellent HP Print and Scan Doctor software for comprehensive testing.
Canon Printers: Access diagnostic tools through the “Maintenance” tab of their menu system.
Brother Printers: Find maintenance options in the “Machine Info” menu, including scanner calibration tools.
Always note any error codes displayed during diagnostics—these codes provide valuable information when searching for specific solutions online.
Identifying Hardware vs. Software Issues
Learning to distinguish between hardware and software problems saves troubleshooting time:
Software Issues typically manifest as problems with specific file types/destinations, error messages mentioning configuration or communication, or issues that began after a computer update.
Hardware Issues usually include strange noises during operation, consistent streaks in scans, paper feed problems, or abnormal scanner light behavior.
A quick physical inspection can often reveal simple mechanical issues like paper clips in the scanner bed or dust on the scanning glass—problems no amount of software troubleshooting will fix!

Step-by-Step Scan to Email Solutions
Setting up and maintaining scan to email functionality requires a systematic approach, from initial configuration through regular maintenance.
Setting Up Scan to Email for the First Time
Before beginning setup, gather all necessary information:
- SMTP server details and port numbers
- Email account credentials for sending
- Information about special requirements (like app passwords)
- Admin access to your printer’s settings
Follow this general setup process:
- Access your printer’s configuration menu
- Locate the scan/email settings section
- Enter SMTP server details and port number
- Configure authentication with username and password
- Test the connection thoroughly before deployment
Troubleshooting Sending Failures
When scans complete but emails never arrive, check these common causes:
- Email size limits: Many servers reject attachments over 10-20MB
- Recipient filters: Email systems may quarantine or block printer-sent emails
- Authentication timing out: Credentials working initially but failing later
- Network interruptions: Brief connection losses during transmission
A helpful troubleshooting technique is setting up a dedicated test email account.
When users report delivery problems, scan to both their address and your test account to determine whether the issue lies with sending or receiving.
Advanced Configuration Options
Once basic functionality is working, consider these enhancements:
- Scan profiles: Create preset configurations for different departments
- Address book integration: Link to corporate directories for easy recipient selection
- Security enhancements: Implement TLS encryption, PDF password protection, and destination restrictions
These advanced features transform scan to email from a basic utility to a robust business tool, especially for departments handling sensitive information.
Maintaining Scan to Email Functionality
Regular maintenance prevents problems before they occur:
- Perform monthly test scans to verify functionality
- Update passwords when app passwords need renewal
- Keep printer firmware current for security and feature improvements
- Review error logs periodically to catch developing issues
- Back up working configurations before making changes
Combine technical maintenance with user training—even the best setup will fail if users don’t understand how to use it properly!

Solving Common Brand-Specific Problems
HP Printer Scan to Email Issues
HP printers often encounter specific challenges with scan to email functionality.
One of the most common issues is authentication failures, especially after security updates from email providers.
If your HP printer shows the dreaded “Cannot connect to server” message:
- Verify you’ve created an app-specific password if using Gmail or other providers with 2FA
- Access the printer’s EWS by typing its IP address in a browser
- Navigate to the Scan/Digital Send section
- Update both your email address and password
- Confirm TLS is properly configured for secure transmission
For older HP models, firmware updates may be necessary to support modern security requirements.
Visit the HP Support website and enter your exact model number to find the latest firmware.
Canon Printer Email Configuration Solutions
Canon printers often have more complex menu structures that can make troubleshooting challenging. If your Canon printer fails to send scans:
- Check if your printer is using the outdated port 25 (many Canon printers default to this)
- Change to port 587 with STARTTLS or port 465 with SSL
- Navigate to Function Settings > TX Settings > Network Setting – E-Mail/I-Fax Settings
- Update authentication settings with your app-specific password
- Ensure the “Send via SMTP Server” option is enabled
Canon printers often require a full power cycle (turning off for at least 60 seconds) after changing email settings for the changes to take effect properly.
Brother Printer Scan to Email Fixes
Brother printers typically require both POP3 and SMTP settings to be configured, even if you’re only using the scan to email functionality.
Common solutions for Brother scan issues include:
- Print the network configuration report to confirm the current IP address
- Access the web interface using that IP address
- Enable both POP3 and SMTP protocols
- Set the authentication method to “SMTP-AUTH”
- Configure the correct port (typically 587) with SSL/TLS encryption enabled
Brother printers often offer a separate “Scanner Reset” option that can resolve persistent issues without disturbing other printer settings.

Troubleshooting for Different Email Providers
Gmail-Specific Solutions
Gmail’s security requirements have become increasingly strict, causing many scan to email failures. For successful Gmail integration:
- Enable 2-Step Verification on your Google account
- Create an app-specific password specifically for your printer
- Use this app password instead of your regular Gmail password
- Set your SMTP server to smtp.gmail.com
- Use port 587 with STARTTLS enabled
- Ensure your “From” email matches exactly with your Gmail address
These steps bypass Gmail’s restrictions on “less secure apps” and allow your printer to authenticate properly.
Microsoft 365/Outlook Configuration
Microsoft’s email services require specific settings for printer integration:
- Set your SMTP server to smtp.office365.com
- Use port 587 with STARTTLS enabled
- Enter your full email address as the username
- If using 2FA, generate an app password through your Microsoft account
- Ensure Modern Authentication is enabled in your Microsoft tenant
- Consider creating a dedicated service account for printer use
For corporate environments, check with your IT department about any conditional access policies that might affect authentication from devices.
Yahoo, AOL and Other Providers
Each email provider has unique requirements:
For Yahoo:
- SMTP server: smtp.mail.yahoo.com
- Port: 587 with STARTTLS
- Authentication: Requires app password if 2FA is enabled
For AOL:
- SMTP server: smtp.aol.com
- Port: 587 with TLS
- Authentication: Requires app password if 2FA is enabled
Always check your specific provider’s documentation for the most current settings, as these can change with security updates.
Conclusion: From Frustration to Efficiency
Mastering scan to email functionality transforms what was once a confusing, frustrating experience into a seamless part of your document workflow.
While the initial setup and troubleshooting might seem daunting, the time investment pays off exponentially in productivity gains and reduced frustration.
Remember that persistence is key when troubleshooting scan to email issues—many problems have simple solutions once you know where to look.
Start with the basics like verifying network connectivity and SMTP settings, then work through more complex solutions methodically.
This comprehensive guide has covered everything from basic setup requirements to brand-specific troubleshooting, advanced configuration options, and maintenance best practices.
Whether you’re setting up scan to email for the first time or resolving persistent issues, you now have the knowledge to transform your scanning experience from a source of frustration to a model of efficiency.
With the techniques, tips, and solutions provided here, you can overcome virtually any scan to email challenge and keep your document workflow running smoothly in 2025 and beyond.

Recent Posts
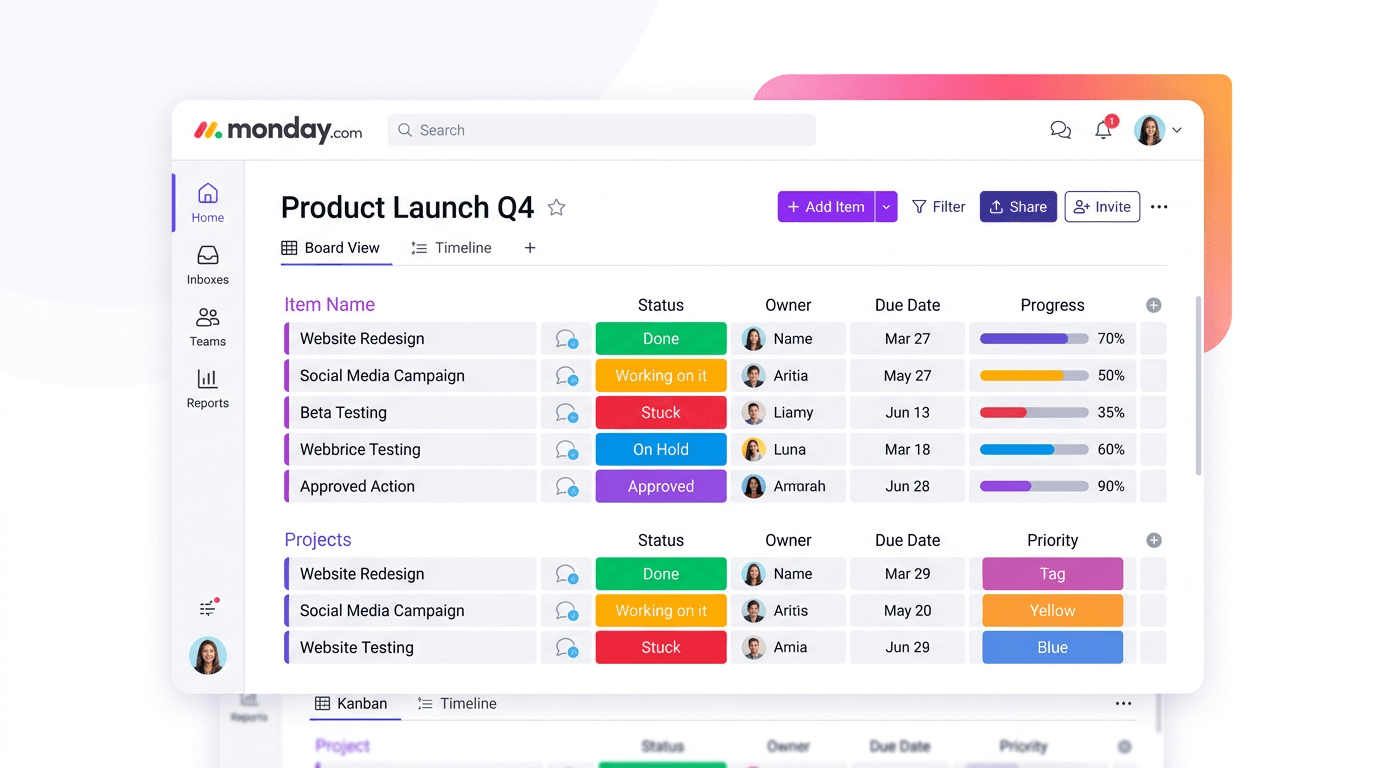
Monday.com Review 2026: Is It Still the Best Work OS?
I tested Monday.com against ClickUp, Asana, and Wr...
Updated May 30, 2026

AI Writing Software for Blogging in 2026: Best Tools + How to Stay AI-Search Vis...
The best AI writing software for blogging in 2026 ...
Updated May 30, 2026
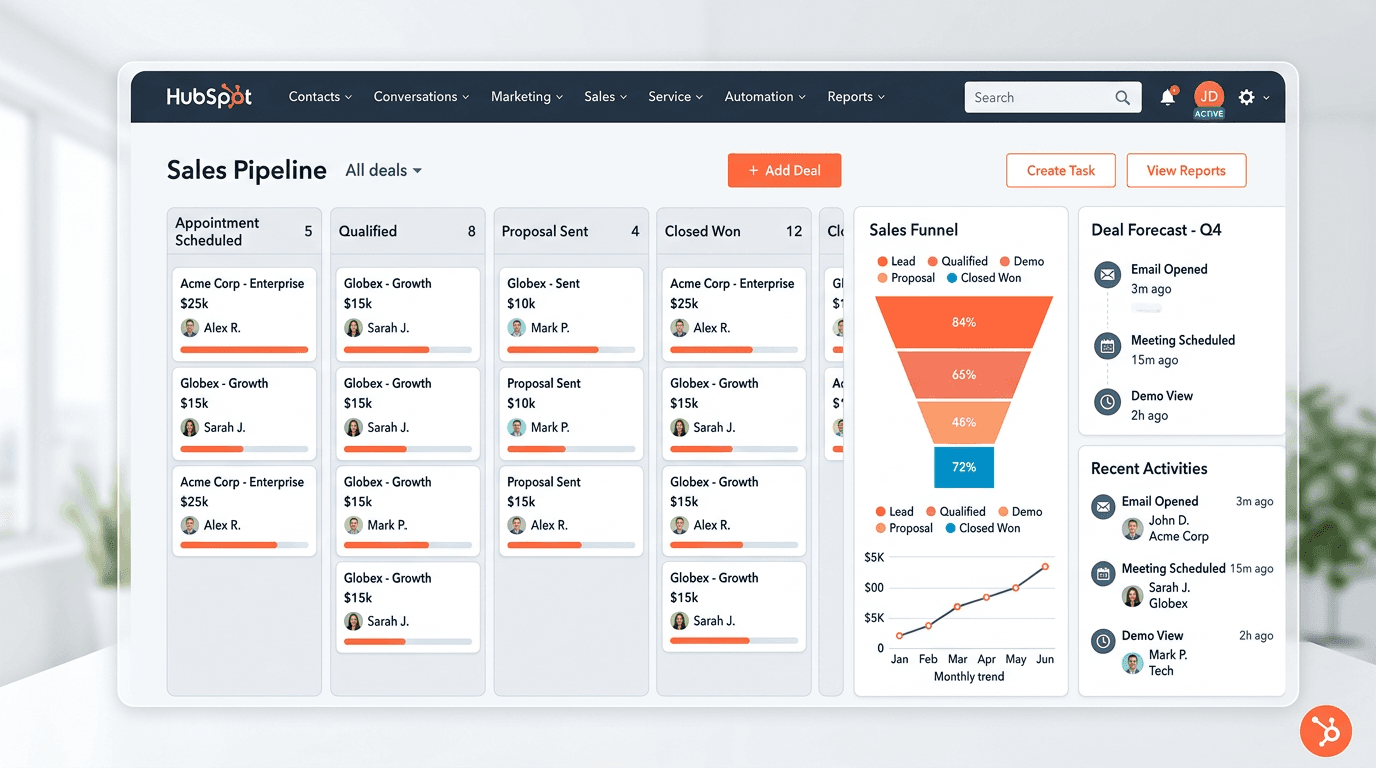
HubSpot Review 2026: Is It Worth the Cost?
I tested HubSpot’s free CRM, Starter, and Pr...
Updated May 29, 2026
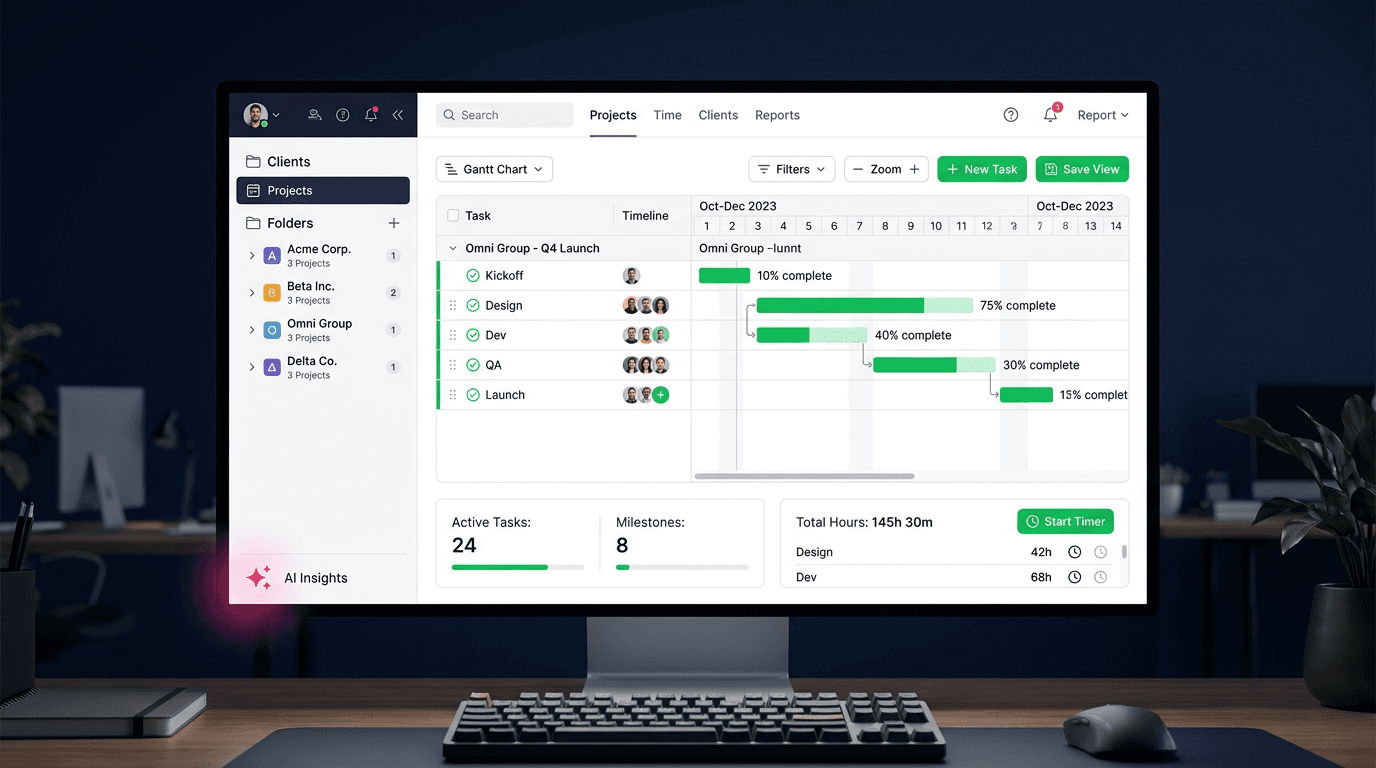
Teamwork.com Review 2026: Is It the Best PM Tool for Client Work?
I tested Teamwork.com for agency and client projec...
Updated May 29, 2026
Wrike Review 2026: Is It Worth the Cost?
I tested Wrike in real enterprise workflows. Here&...
Updated May 29, 2026
Asana Review 2026: Is It Worth It? (Honest, In-Depth Analysis)
I tested Asana across real team workflows. Here...
Updated May 29, 2026
Newsletter
Don't miss a thing!
Sign up to receive daily news