

Updated October 10, 2024
How to Set Up Scan to Email Printer: Easy to Follow Guide
Table of Contents
Drowning in paper? You’re not alone!
Did you know the average office worker uses a whopping 10,000 sheets of paper annually?
But here’s some fantastic news – your trusty printer might just be your ticket to a clutter-free life.
Setting up scan to email is like giving your printer superpowers!
It’s not just about zapping documents into cyberspace; it’s about embracing the future of work.
In this guide, we’ll walk you through the ins and outs of scan to email printer setup, turning you into a digital document ninja.
Ready to join the paperless revolution? Let’s dive in!
Understanding Scan to Email: Your Gateway to Digital Document Sharing
When I first heard about scan to email, I thought it was just another tech gimmick.
Boy, was I wrong! It’s been a total game-changer for my home office setup.
What the Heck is Scan to Email Anyway?
Scan to email is basically your printer’s superpower.
It lets you scan a document and zap it straight to someone’s email inbox.
No more fussing with attachments or forgetting files on your desktop.
Trust me, I’ve been there, and it’s not fun.
Here’s the lowdown:
- You pop your document in the scanner
- Choose the email option on your printer
- Pick the recipient from your address book (or type in a new email)
- Hit send, and voila! Your document’s on its merry way
Why You’ll Love Email-Enabled Scanning Devices
I gotta say, these babies have saved my bacon more times than I can count. Here’s why I’m such a fan:
- Time-saver extraordinaire: No more running back and forth between your scanner and computer. It’s all done in one go.
- Eco-friendly: Less paper waste means happier trees. Mother Nature will thank you!
- Organization made easy: Digital docs are way easier to sort and find later. No more rifling through messy file cabinets.
- Accessibility: Need that document while you’re out? No problemo. It’s right there in your email.
Scan to Email vs. Fax: The Showdown
Now, I know some of you might be thinking, “But what about my trusty fax machine?”
Listen, I get it. I was a fax devotee, too.
But let me break it down for you:
- Speed: Scan to email is like Usain Bolt, while fax is more like your granny’s power walk.
- Quality: Scanned docs are crisp and clear. Faxes? Well, sometimes they look like they’ve been through a blender.
- Cost: No phone line needed for scan to email. Cha-ching!
- Ease of use: Ever tried to explain to someone how to use a fax machine over the phone? Yeah, not fun.
Embracing the Paperless Office Dream
I’ll be honest, going paperless seemed like a pipe dream at first.
But with scan to email, it’s totally doable. Here’s how it’s helped me:
- Less clutter: My desk used to look like a paper tornado hit it. Now? Clear as day.
- Better collaboration: Sharing docs with my team is a breeze. No more “the dog ate my report” excuses.
- Faster processes: Approvals and signatures happen in minutes, not days.
- Eco-warrior status: I feel pretty darn good about reducing my carbon footprint.
Preparing for Liftoff: Prerequisites for Scan to Email Setup
Alright, so you’re sold on scan to email.
Awesome!
But before you dive in, there are a few things you need to know.
Trust me, a little prep work now will save you a ton of headaches later.
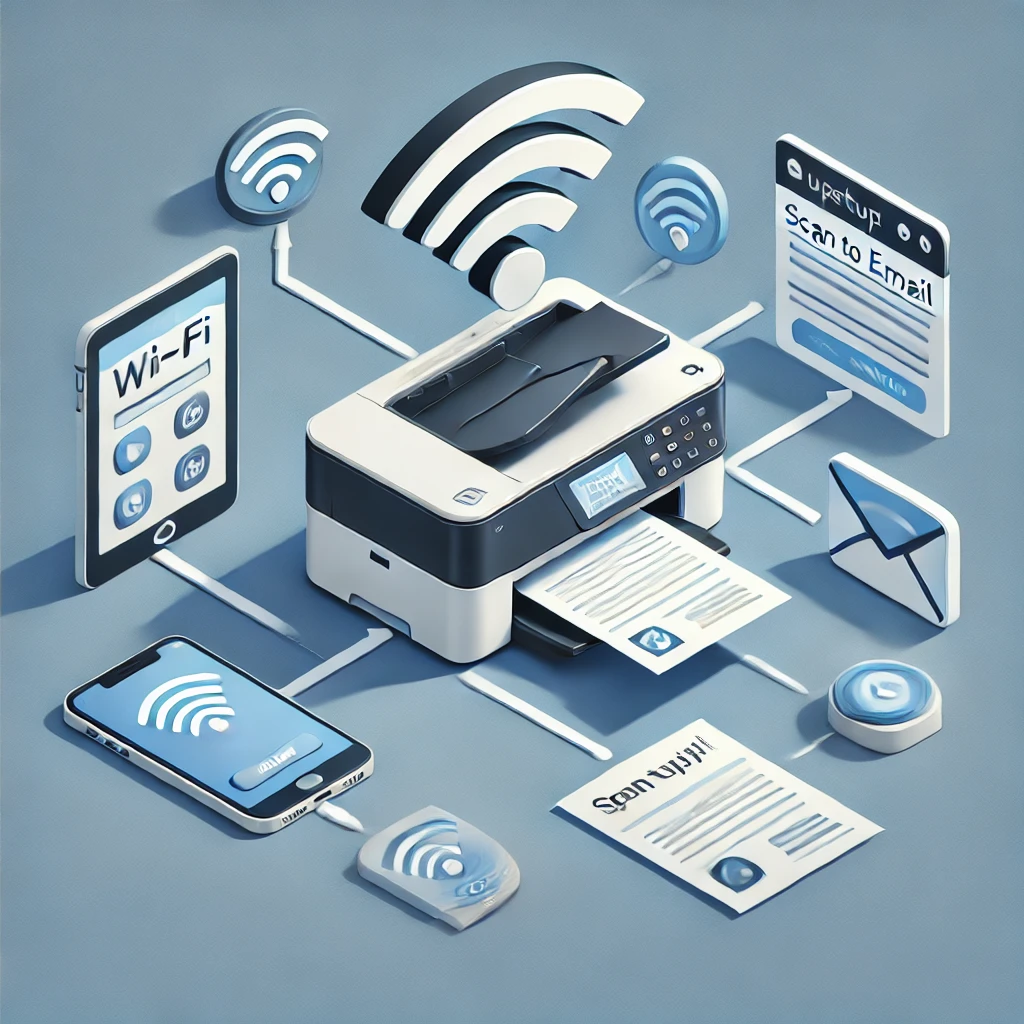
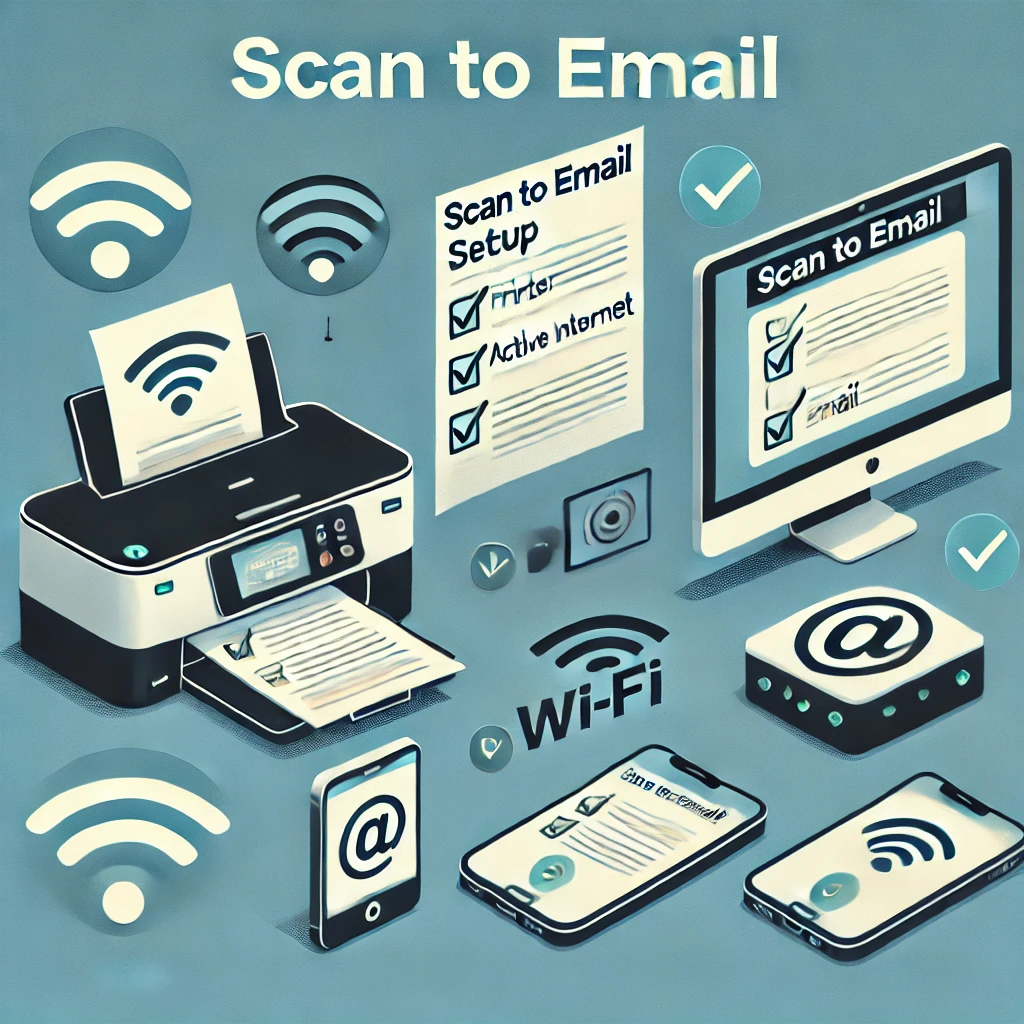
Multi-Function Printer Setup: The Essentials
First things first, you need a printer that can handle the job. Here’s what to look for:
- Scanning capability: Duh, right? But make sure it’s got a good resolution.
- Network connectivity: Wi-Fi or Ethernet, take your pick.
- Email function: Not all printers have this built-in, so double-check.
- User-friendly interface: Trust me, you don’t want to be squinting at tiny screens.
I learned this the hard way when I bought a printer that couldn’t connect to my network. Talk about a facepalm moment!
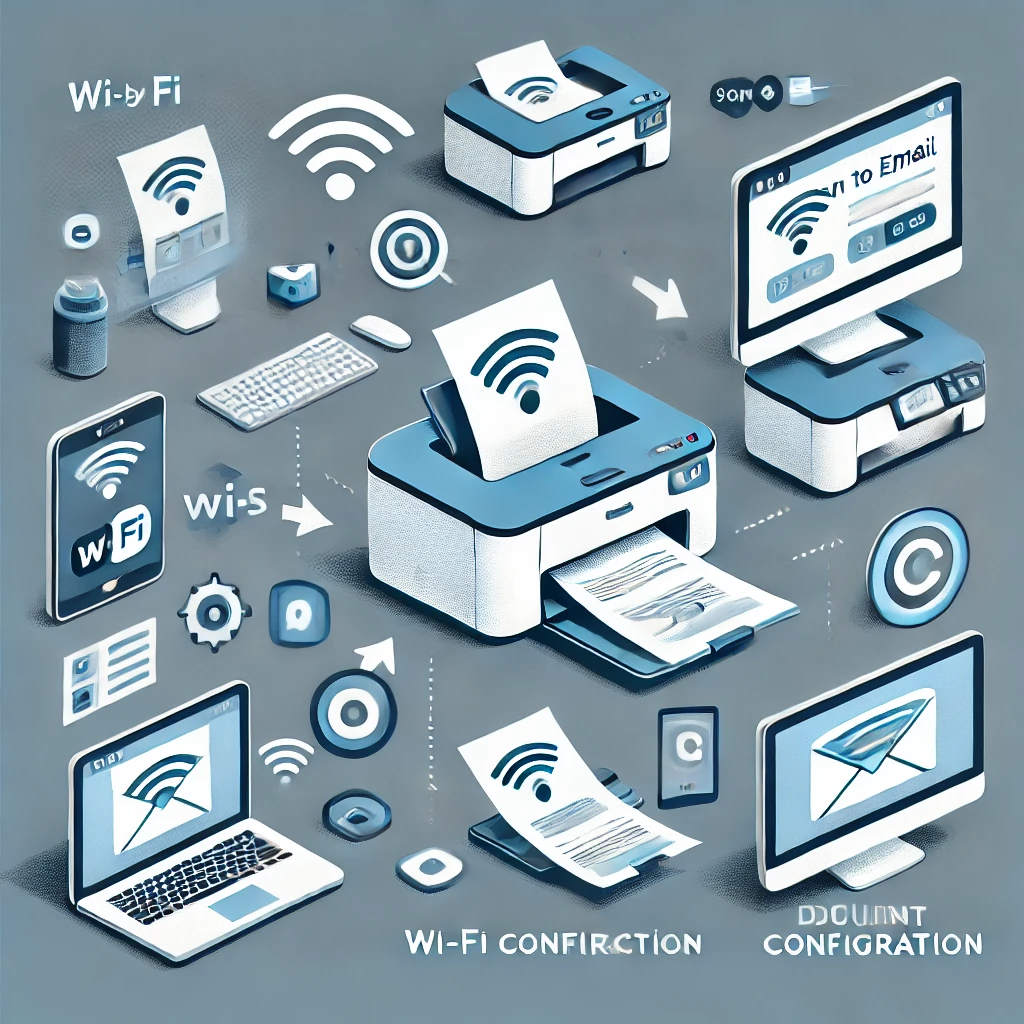
Network Configuration: Don’t Let It Scare You
I know, I know. “Network configuration” sounds about as fun as watching paint dry. But it’s not that bad, I promise. Here’s the gist:
- Make sure your printer and computer are on the same network.
- Find your printer’s IP address (it’s usually in the settings menu).
- Set up any firewall exceptions if needed.
Pro tip: Write down your network settings somewhere safe. Future, you will thank present you when you need to troubleshoot.
The Lowdown on Printer Software Updates
Okay, I’ll admit it. I used to ignore those pesky update notifications. Big mistake. Here’s why updates matter:
- Security: They patch up vulnerabilities faster than you can say “hacker.”
- New features: Sometimes, you get cool new functions for free!
- Bug fixes: Because nobody likes when their printer goes haywire mid-job.
Set up automatic updates if you can. It’s one less thing to worry about.
BYOD Scanning: What You Need to Know
Bring Your Own Device scanning is pretty nifty. It lets you scan docs using your phone or tablet. Here’s the scoop:
- You’ll need a compatible app (your printer manufacturer probably has one).
- Make sure your device is on the same network as your printer.
- Check that your printer supports mobile scanning (most new ones do).
I once tried to scan a stack of receipts using my phone while on a different Wi-Fi network. Let’s just say it didn’t end well.
Learn from my mistakes!
Remember, setting up scan to email might seem a bit daunting at first, but once you get it rolling, you’ll wonder how you ever lived without it.
And hey, if you get stuck, don’t be afraid to ask for help. We’ve all been there!
Step-by-Step: Configuring Your Scan to Email Printer Setup
Alright, let’s roll up our sleeves and dive into the nitty-gritty of setting up scan to email on your printer.
I remember the first time I tackled this – it felt like I was trying to decode ancient hieroglyphics!
But don’t worry, I’ve made all the mistakes so you don’t have to.
Accessing Your Printer’s Email Scanning Configuration Settings
First things first, we need to get into your printer’s settings. This can be a bit tricky, depending on your model.
- Look for a “Settings” or “Menu” button on your printer. It’s usually hiding in plain sight!
- If you can’t find it, check your printer’s manual. (I know, I know, who reads manuals? Trust me on this one.)
- Some printers let you access settings through a web interface. Try typing your printer’s IP address into a web browser.
Pro tip: Jot down the steps you take. It’ll save you a headache if you need to do this again in the future.
Navigating the Printer Touchscreen Interface
Okay, so you’ve found the settings. Now what? Well, it’s time to make friends with your printer’s touchscreen interface.
- Look for options like “Scan,” “Email,” or “Scan to Email.”
- Don’t be afraid to explore a bit. You won’t break anything by poking around the menu.
- If you get lost, there’s usually a “Home” or “Back” button to bail you out.
I once spent 20 minutes tapping aimlessly on my printer’s screen before I realized I was in the wrong menu.
Don’t be like me – take your time and read each option carefully!
Setting Up SMTP Server Settings and Printer Email Server Configuration
Now here’s where things can get a little hairy. SMTP server settings sound scary, but I promise it’s not as bad as it seems.
- You’ll need your email provider’s SMTP server address. A quick Google search should turn it up.
- Look for fields like “Outgoing Mail Server” or “SMTP Server” in your printer settings.
- You might need to enter a port number too. Common ones are 25, 465, or 587.
- Don’t forget to input your email address and password.
I once typed in my email password wrong and spent an hour troubleshooting before I realized my mistake.
Double-check everything!
Creating and Managing Your Printer Email Address Book
Last but not least, let’s set up your printer’s address book. Trust me, this step is a real time-saver in the long run.
- Look for an option like “Address Book” or “Contacts” in your printer menu.
- Start with adding your own email address. (Hey, sometimes you need to send stuff to yourself!)
- Add emails for people you frequently send scans to.
- Some printers let you create groups. Super handy for team projects!
Here’s a neat trick I learned: create an email group called “Me” with just your email address. It makes it super quick to send scans to yourself.
Remember, setting up scan to email might feel like a pain now, but it’s going to save you so much time in the long run.
And hey, if you get stuck, don’t be afraid to call in reinforcements.
We’ve all been there!
One last thing – make sure to test your setup by sending a scan to yourself.
There’s nothing worse than thinking everything’s hunky-dory only to realize your scans aren’t going through.
Trust me, I learned that one the hard way!
Fine-Tuning Your Scan to Email Experience
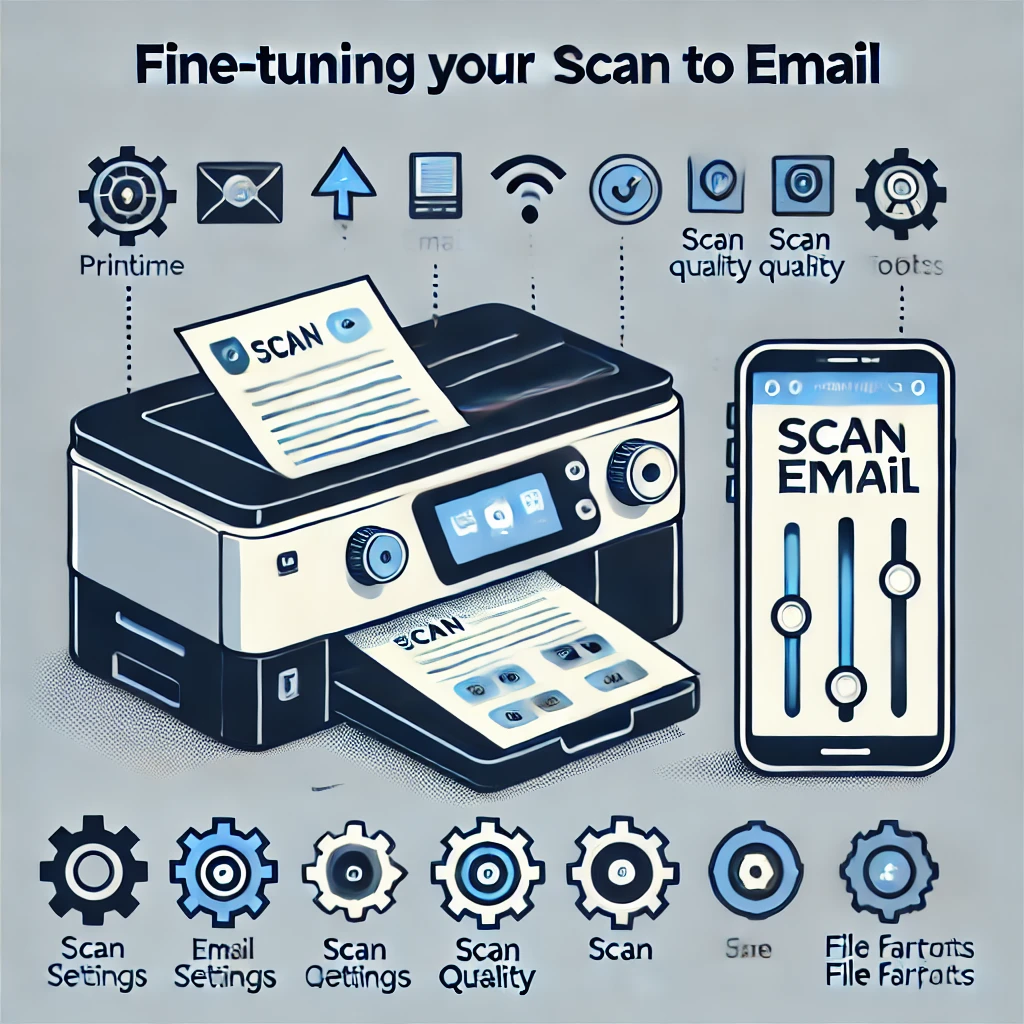
Getting your scan to email printer setup just right is like finding the perfect cup of coffee – it takes a bit of experimentation, but boy, is it worth it!
I’ve spent more time than I’d like to admit tweaking my settings, but now my workflow is smoother than a freshly waxed floor.
Optimizing Scan Quality for Different Document Types
I learned the hard way that one size definitely doesn’t fit all when it comes to scan quality. Here’s what I’ve figured out:
- For text documents, 300 DPI is usually the sweet spot. Anything higher is overkill and just bloats your file size.
- Photos: Crank it up to 600 DPI if you want to capture all those details.
- Receipts and handwritten notes: 200-300 DPI should do the trick.
Pro tip: If you’re scanning a mix of text and images, go with the higher resolution. You can always downsize later, but you can’t add detail that wasn’t there to begin with!
Choosing the Right Scan to Email File Formats
Oh boy, file formats. This one’s a doozy but stick with me. Your choice can make a big difference:
- PDF: My go-to for most documents. It’s universally readable and maintains formatting.
- JPEG: Great for photos or single-page scans.
- TIFF: Use this for high-quality images you might need to edit later.
- PNG: Good for screenshots or diagrams with text.
I once sent a bunch of scanned contracts as JPEGs.
Let’s just say the recipient wasn’t thrilled about opening 50 separate files.
Lesson learned – PDFs for multi-page docs!
Managing Email Attachment Size Limits
Ever tried to send a massive file only to have it bounce back? Yeah, been there, done that. Here’s how to avoid that headache:
- Check your email provider’s attachment limit. It’s usually around 25MB.
- If you’re close to the limit, try splitting your scan into multiple emails.
- Use your printer’s “scan to folder” option for big files, then share via a link.
Implementing Scan to Email File Compression Techniques
File too big? Don’t sweat it. Here’s how to slim down those chunky scans:
- Look for a “compress” or “optimize” option in your scanner settings.
- For PDFs, try the “reduced size PDF” option if available.
- If your scanner doesn’t have built-in compression, use a tool like Adobe Acrobat or a free online compressor.
I once had to scan a 100-page report. Without compression, it was a whopping 50MB.
With a little tweaking, I got it down to 5MB. Magic!
Advanced Features to Supercharge Your Workflow
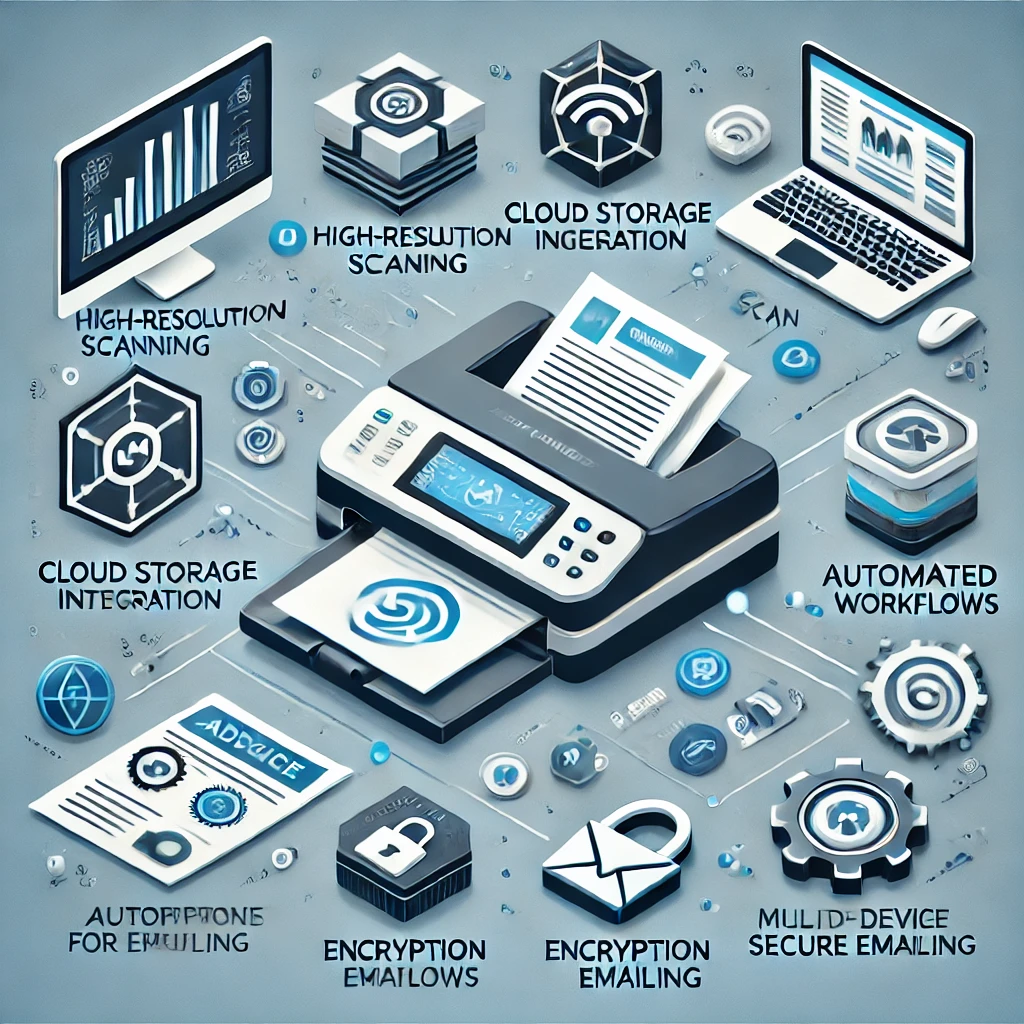
Alright, now that we’ve got the basics down, let’s kick it up a notch.
These advanced features are like rocket fuel for your productivity!
Exploring OCR Scanning Technology for Searchable Documents
OCR (Optical Character Recognition) is seriously cool. It turns your scanned images into searchable text. Game changer!
- Look for an OCR option in your scanner settings.
- If your printer doesn’t have built-in OCR, try tools like Adobe Acrobat or Google Drive.
- OCR works best with clear, high-contrast scans. Adjust your scan settings accordingly.
I can’t tell you how many hours I’ve saved by being able to search through scanned documents.
No more squinting at page after page!
Setting Up Cloud Storage Integration for Easy Access
Cloud storage integration is like having a magic filing cabinet that follows you everywhere. Here’s how to set it up:
- Check if your printer supports direct scanning to cloud services like Google Drive or Dropbox.
- If not, set up an automated folder sync between your computer and cloud storage.
- Create a dedicated “Scans” folder in your cloud storage for easy organization.
Pro tip: Set up notifications on your phone for new files in your cloud “Scans” folder. You’ll never miss an important document again!
Implementing Digital Signature Integration for Secure Approvals
Digital signatures have saved my bacon more times than I can count. Here’s the lowdown:
- Look for “digital signature” or “e-sign” options in your scanner settings.
- If your printer doesn’t support it, try services like DocuSign or Adobe Sign.
- Make sure to set up a secure signature password. Don’t use “123456”.
Configuring Automated Document Routing and Folder Organization
This is where things get really fancy. Automated routing is like having a personal assistant for your documents:
- Set up rules based on keywords or sender email addresses.
- Create folders for different document types (invoices, contracts, receipts, etc.).
- Use your email client’s filtering options to automatically sort incoming scanned documents.
I once spent a whole weekend sorting through a messy “Scans” folder.
Trust me, setting up automation from the get-go is worth it!
Remember, these advanced features might seem like overkill at first, but they’ll save you tons of time in the long run.
Don’t be afraid to experiment and find what works best for you.
And if you get stuck, well, that’s what IT support is for, right? (Just kidding, maybe don’t bug them too much!)
Securing Your Digital Documents

When I first started using scan to email, I was about as security-conscious as a kid leaving their diary open on the kitchen table.
But boy, did I learn my lesson! Now, I’m all about keeping those digital docs locked up tight.
Implementing Printer Network Security Best Practices
First things first, let’s batten down the hatches on your printer network:
- Change that default password! I can’t stress this enough. “Admin123” isn’t fooling anyone.
- Keep your firmware updated. I know, I know, it’s a pain, but it’s like vitamins for your printer.
- Enable HTTPS for printer management. It’s like giving your data a secret handshake.
- Disable unused protocols. If you’re not using it, turn it off!
I once left my printer’s default password unchanged.
Let’s just say I spent a very interesting afternoon trying to figure out why my printer was suddenly speaking a different language.
Setting Up Printer Email Encryption
Encryption is like a force field for your scanned docs. Here’s how to set it up:
- Look for SSL/TLS options in your printer’s email settings.
- Use secure ports (usually 465 or 587) for your SMTP server.
- If your printer supports it, enable S/MIME encryption.
Pro tip: Test your encryption by sending a scan to yourself. If you can read it without any extra steps, something’s not right!
Establishing Scan to Email Audit Trails
Audit trails are like breadcrumbs for your scans.
They’re super handy if you ever need to track down who sent what and when.
- Enable logging in your printer’s admin settings.
- Set up alerts for unusual activity. Trust me, you want to know if someone’s scanning War and Peace at 3 AM.
- Regularly review your logs. It’s about as exciting as watching paint dry, but it’s important.
Creating and Managing Scan to Email Retention Policies
Retention policies are like Marie Kondo for your digital docs. Here’s how to keep things tidy:
- Decide how long you need to keep different types of documents.
- Set up automatic deletion for old scans. But be careful – you don’t want to accidentally nuke something important!
- Consider archiving important docs before they’re deleted.
I once had to dig through years of scanned files to find one crucial document. Never again!
Troubleshooting and Optimization

Alright, buckle up. We’re about to dive into the world of troubleshooting.
Don’t worry, I’ve made all the mistakes, so you don’t have to!
Common Scan to Email Troubleshooting Tips
Here are some issues I’ve run into more times than I’d like to admit:
- Scans not sending? Check your SMTP settings. One misplaced dot can ruin your whole day.
- Blurry scans? Clean that scanner bed! You’d be amazed what a little glass cleaner can do.
- Weird colors? Make sure you’re using the right settings for color vs. black and white docs.
Remember, when all else fails, turn it off and on again. It’s cliché, but it works more often than you’d think!
Optimizing Scan to Email Workflow
Let’s make your workflow smoother than a freshly waxed floor:
- Set up one-touch scanning presets for common tasks.
- Use your printer’s address book. Trust me, typing out email addresses on that tiny screen gets old fast.
- Batch similar documents together. It’s like carpooling but for scans!
I used to scan each page of a document separately. Don’t be like past me. Use that document feeder!
Enhancing Document Scanning Resolutions
Getting the right resolution is like finding the perfect pair of jeans – it takes some trial and error:
- For most text docs, 300 DPI is your sweet spot.
- Scanning photos? Bump it up to 600 DPI.
- Remember, higher isn’t always better. You’ll just end up with massive files.
Pro tip: Scan a test page at different resolutions and see which one looks best without bloating the file size.
Configuring Email Notification Settings
Notifications can be a lifesaver or a total pain. Here’s how to strike the right balance:
- Set up notifications for successful scans. It’s like a little high-five from your printer.
- But maybe skip the notifications for every. Single. Page. Trust me, your inbox will thank you.
- Consider setting up a separate email folder for scan notifications. Keep things tidy!
I once set up notifications for everything and my phone buzzed so much I thought it was having a seizure.
Learn from my mistakes!
Remember, troubleshooting is part of the game. Don’t get discouraged if things don’t work perfectly right away.
Keep at it, and before you know it, you’ll be the office scan-to-email guru.
Maximizing Productivity with Scan to Email
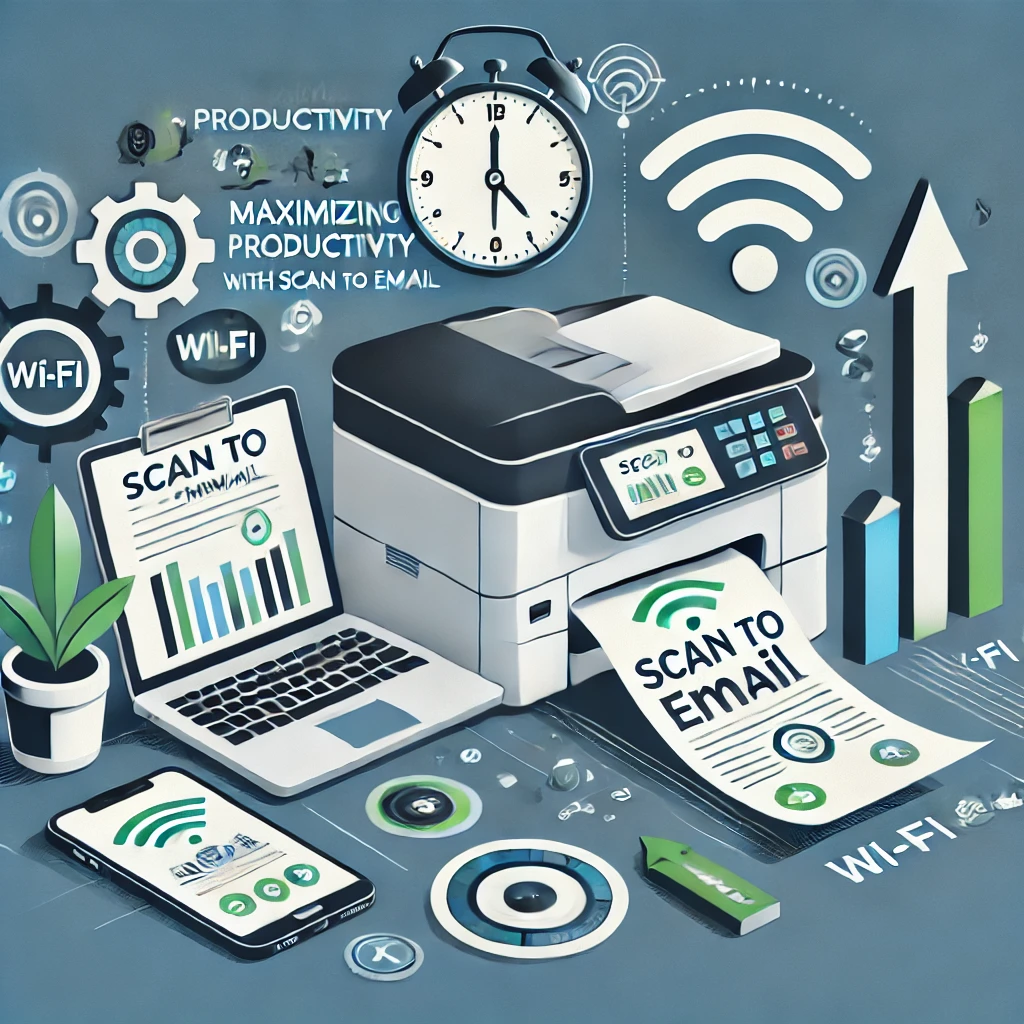
Alright, let’s talk about supercharging your productivity with scan to email.
When I first started using this feature, I was about as efficient as a sloth on a coffee break.
But over time, I’ve picked up some tricks that have turned me into a scanning ninja.
Well, maybe not a ninja, but definitely faster than a sloth!
Scan to Email Productivity Tips and Best Practices
Here are some nuggets of wisdom I’ve gathered along the way:
- Set up email templates for common scan types. Trust me, it’s a game-changer.
- Use descriptive subject lines. Future you will thank present you when searching for that one specific document.
- Organize your scanned docs into folders right away. Don’t be like me, ending up with a digital junk drawer.
- Schedule a regular “scan and organize” session. It’s like a spa day for your documents!
Pro tip: Create a cheat sheet of your most-used scan settings and tape it near your printer. It’s old school, but it works!
Leveraging Batch Scanning to Email for Efficiency
Batch scanning is like carpooling for your documents. Here’s how to make it work for you:
- Use that automatic document feeder! It’s not just there to look pretty.
- Sort your documents by type before scanning. It’s like doing laundry – keep the whites separate from the colors.
- Set up different profiles for different types of batch scans. One for receipts, one for contracts, you get the idea.
I once spent an entire afternoon scanning documents one by one.
Never again!
Batch scanning saved my sanity and my wrist from repetitive strain injury.
Utilizing Scan Preview Before Sending to Ensure Accuracy
The scan preview feature is your best friend. Seriously, get to know it well:
- Always, always, ALWAYS use preview. I can’t stress this enough.
- Check for skewed pages or cut-off text. It happens more often than you’d think.
- Make sure all pages are there and in the right order. Nothing’s worse than sending a contract with missing pages.
Let me tell you, I once sent a scanned document without previewing it first.
Turns out, there was a giant coffee stain right in the middle of an important signature line.
Talk about embarrassing!
Exploring Scan to Email Mobile Apps and Mobile Printing Options
Welcome to the future! Your phone is now a scanner:
- Download your printer’s official mobile app. They’re usually free and pretty nifty.
- Experiment with third-party scanning apps too. Some have cool features your printer app might not have.
- Set up mobile printing while you’re at it. Being able to print from your phone feels like magic.
I was skeptical about mobile scanning at first.
But then I had to scan a receipt while on a business trip, and my phone saved the day. Now I’m a convert!
Here are some extra tidbits to really amp up your scan to email game:
- Learn keyboard shortcuts for your scanning software. It’s like learning a secret language that makes you faster.
- Set up auto-filing rules in your email client. Let the robots do the organizing for you!
- Consider using OCR (Optical Character Recognition) for text-heavy scans. Being able to search through scanned docs is a total lifesaver.
Remember, the key to productivity is finding what works best for you.
Don’t be afraid to experiment with different workflows and settings.
And if you mess up?
Well, that’s just a chance to learn something new.
I once accidentally scanned an entire 200-page book upside down.
Did I feel like a doofus?
Absolutely. But you better believe I triple-check my document orientation now!
At the end of the day, scan to email is all about making your life easier.
So take these tips, mix and match, and create a workflow that feels like it was tailor-made for you.
And hey, if you come up with any brilliant new tricks, spread the love and share them with your coworkers.
Just maybe not the one who always jams the printer – they might need a bit more help first!
Conclusion:
Congratulations! You’ve just unlocked the secret to office superhero status.
By mastering scan to email printer setup, you’re not just saving trees – you’re catapulting your productivity into the stratosphere.
Imagine a world where sharing documents is as easy as pushing a button (because, well, it is!).
No more paper cuts, no more lost files, just smooth sailing in the sea of digital efficiency. So, what are you waiting for?
It’s time to wave goodbye to your filing cabinet and hello to the future of document management.
Have you tried scan to email yet? Together, let’s make paper trails a thing of the past!

Recent Posts

Nonprofit CRM Pricing: What You’ll Really Pay in 2026 (All Models Compared)
Independent guide to nonprofit CRM pricing: 8 plat
May 22, 2026

Slack for Nonprofits: Free Plan, 85% Discount & What You Need to Know First (202...
Slack for nonprofits offers a free Pro upgrade for
May 21, 2026

ClickUp for Nonprofits: What the Discount Is (And How to Get It) (2026)
ClickUp for Nonprofits offers a discount (commonly
May 21, 2026

HubSpot for Nonprofits: 40% Discount, Eligibility & What It Actually Costs (2026...
HubSpot for Nonprofits offers a 40% discount on Pr
May 21, 2026

Monday.com for Nonprofits: 10 Free Seats, Eligibility & How to Apply (2026)
monday.com for nonprofits gives eligible organizat
May 20, 2026

Asana for Nonprofits: 50% Discount, Eligibility & How to Apply (2026)
Asana for nonprofits offers a 50% discount on paid
May 19, 2026
Newsletter
Don't miss a thing!
Sign up to receive daily news