

Updated May 13, 2026
How to Set Up Your Scan to Email Printer: A Step-by-Step Guide
Table of Contents
If you’ve ever been frustrated by a printer manual that feels more like a cryptic puzzle, you’re not alone. Many of us have faced the hurdle of how to set up your scan to email printer, only to end up feeling overwhelmed.
But don’t worry; I’ve spent countless hours researching and crafting this guide to make sure it’s straightforward and easy to follow. Setting up your scan-to-email printer is actually simpler than it seems when you have clear instructions tailored specifically for popular models like HP, Canon, and Brother. Read on, and we’ll walk you through each step smoothly.
To set up your scan to email printer, first ensure it supports the scan-to-email feature and is connected to a reliable Wi-Fi network. Then, configure your email account settings in the printer’s control panel or software, entering necessary SMTP server details such as server address and port number, before testing the functionality to confirm successful setup.
Choosing a Compatible Printer
When we set out to find the perfect printer for our scan-to-email needs, it’s crucial to focus on compatibility. A compatible printer includes built-in functionality for scanning documents directly to email and boasts solid driver support alongside consistent software updates.
These features ensure that your printer can adapt to changes in technology without needing a complete overhaul or replacement.
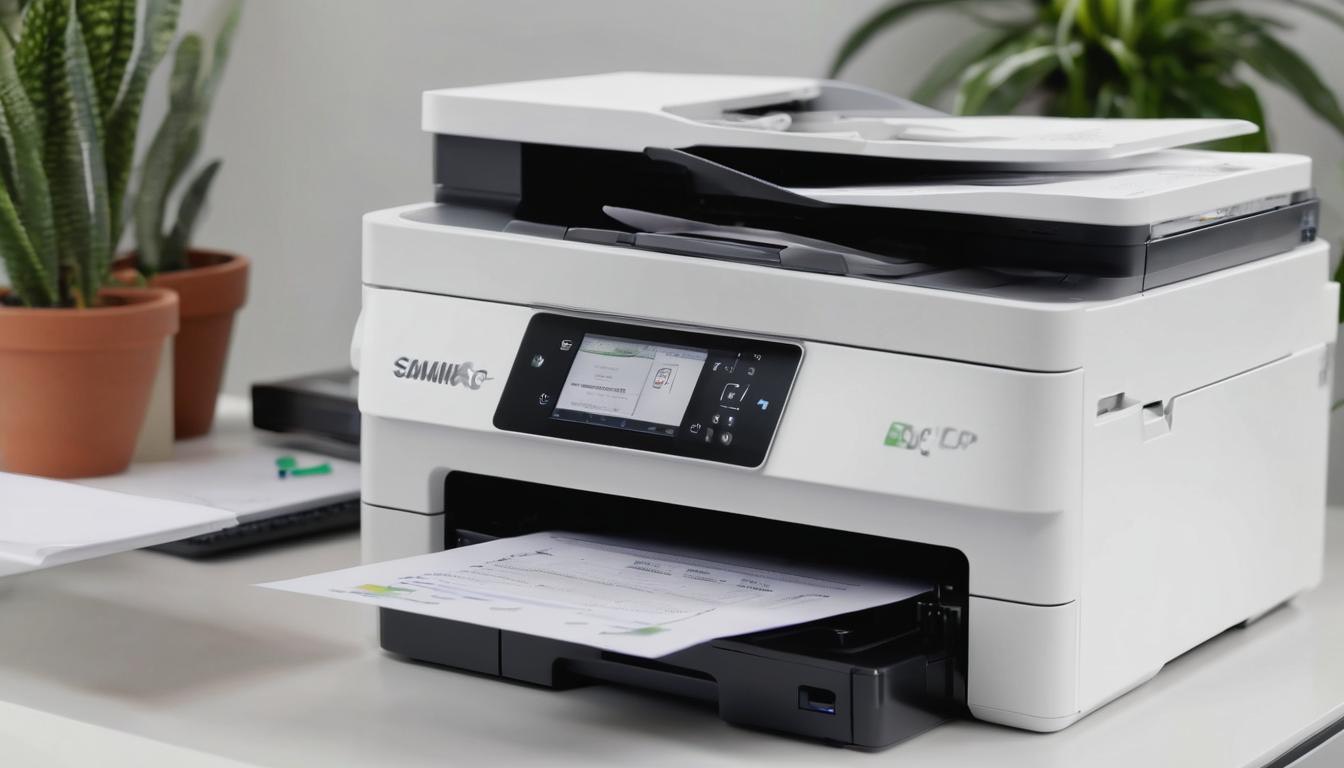
Understanding what makes a printer truly compatible could be compared to selecting a reliable smartphone. You want a device that not only performs well but also receives regular updates to keep it functioning optimally. Just as you wouldn’t invest in a phone that stops getting support from its manufacturer, the same goes for printers. Investing in models like the HP OfficeJet Pro series or the Canon PIXMA is beneficial because these printers come equipped with advanced features designed to enhance user experience.
Another significant factor to consider is connectivity. Many modern printers come with Wi-Fi capabilities, which allow you to connect directly to your home or office network.
This feature simplifies setup and enables multiple users to access the printer, scanning documents from various devices. In contrast, older models often use USB connections that limit accessibility and demand more physical interaction.
It’s also worth emphasizing that while the aforementioned printers are solid choices, always check for user reviews and recommendations specific to scan-to-email performance. Sometimes, even within reputable brands, certain models might experience issues that could disrupt workflow.
Reading through user feedback can provide valuable insights into real-life experiences, helping you avoid printers that may have frequent bugs or limitations.
Lastly, it’s essential not to dismiss all-in-one inkjet printers over dedicated scanners right away.
Some argue that dedicated scanning devices outperform multifunction printers in terms of speed and quality; however, many recent all-in-one printers handle both printing and scanning functions impressively.
This versatility saves space and can be more cost-effective than purchasing separate devices for each task.
After selecting a compatible printer, you’ll want to explore how to seamlessly connect it to your network for optimal performance and accessibility.
Connecting Your Printer to Your Network
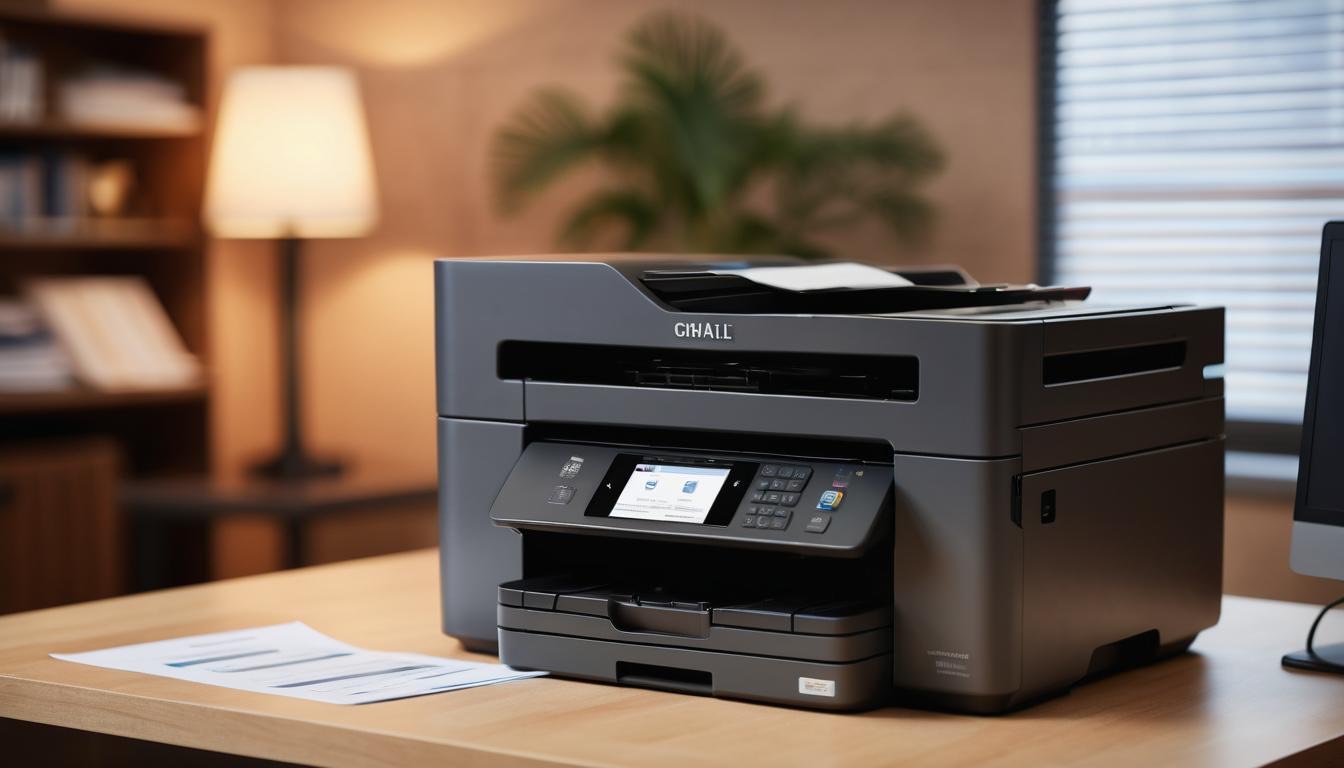
Establishing a solid connection between our printer and Wi-Fi network is essential for effective operation. First things first, we need to ensure that our printer is turned on.
A simple press of the power button will do the trick, illuminating any indicators that tell us it’s ready for action.
Once lit up, we head straight to the control panel, which is usually quite user-friendly. Depending on our printer’s model, this could be a touchscreen interface or a set of physical buttons.
Our next step involves navigating to the ‘Wireless Settings’ or ‘Network Settings’ menu. This section is where the magic happens.
Look for an option labeled ‘Wireless Setup Wizard’—most modern printers incorporate this feature, guiding us through the setup process with easy prompts. It’s designed so even those with minimal tech experience can manage.
After selecting this option, our printer scans for available networks, which takes just a moment.
Here comes an important part: we need to choose our Wi-Fi network from the list displayed on the screen. Once selected, the printer will ask for the password—this is where some people stumble and forget their credentials.
If we find ourselves in this position, it’ll help to check the back of our router or refer to network documentation we’ve possibly saved.
Remember, entering the password correctly is crucial; it’s like trying to open a door—you can’t get in if you don’t have the right key!
Did you know that approximately 70% of connectivity issues stem from incorrect password entries? That emphasizes why double-checking can save us time and frustration.
Now, what if we encounter issues during this connection process?
If our printer fails to connect after entering the password, some immediate troubleshooting steps can alleviate potential problems: rebooting the router often does wonders, as it resets any transient errors affecting performance.
Additionally, moving the printer closer to the router can improve signal strength—sometimes physical distance plays a significant role in connectivity problems.
Lastly, checking for any firmware updates using our manufacturer’s website can resolve compatibility bugs that might be lingering.
Once we’ve successfully connected our printer to the network, we’ll be ready to tackle the intricate details involved in setting up email functionality directly from your device.
Configuring Printer and Email Settings
Configuring the printer and email settings is imperative for smooth operation, as it directly impacts our ability to send scanned documents via email.
When we take the time to set up these configurations correctly, the process becomes seamless, allowing us to streamline our workflow.
To start, we should locate the printer’s control panel and navigate through its menu options. This can vary depending on the model, but generally, we want to find the ‘Settings’ section.
Once there, we’ll select ‘Email Setup,’ which brings us to the first crucial part of our configuration: Email Setup.
Email Setup
After navigating to ‘Email Setup,’ we will enter the necessary email details. This could include specifying a default sender email address that will appear when we send scan-to-email messages.
It’s essential that this address is one we actively monitor; otherwise, we may miss important replies.
Additionally, some printers allow us to set a user-friendly name for the sender so that recipients can easily recognize who sent them the document.
Now that we’ve covered the foundational aspects of email setup, we move on to the more technical SMTP server configuration.
SMTP Server Configuration
This is arguably the most critical step in ensuring our scan-to-email feature functions properly.
Here, we will input our SMTP server details. For many users, this might be smtp.gmail.com for Gmail accounts or smtp.mail.yahoo.com for Yahoo users.
We should also make sure to specify the correct port number—typically 587 for TLS encryption or 465 for SSL protocols; this step is important to ensure secure communication between our printer and email service provider.
As we fill out these fields, it’s equally important to provide our authentication details: our full email address as the username and the password associated with that account.
Security measures often require us to enable options like “Allow less secure apps” or generate an app-specific password if we’re using two-factor authentication.
Remembering these details can save us from potential headaches down the road if something goes awry.
Having set up our SMTP server details correctly, we’re well on our way, but it’s vital to confirm that everything has been configured accurately.
Test Email Configuration
Now comes a critical moment—testing our setup by sending a test email.
By doing this, we can verify whether all previous steps have been successfully implemented without needing to troubleshoot later when we’re in a hurry to send something important.
If this test fails, don’t fret; simply double-check every detail entered during setup.
While it’s easy to overlook a small detail like a missing character in an email address or an incorrect port number, these can cause significant issues.
If we do encounter issues after sending a test email, search for solutions based on error codes provided by the printer interface.
Common fixes often involve adjusting security settings within our email account or ensuring that firewall settings permit communication with external servers.
With our email settings now in place and confirmed through a successful test, let’s explore how implementing essential software can further enhance our scanning experience.
Installing Required Software
The first step in setting up our scan-to-email printer involves getting the right software.
This often includes proprietary software from our printer’s manufacturer, which is specifically designed to optimize the scanning process.
Various brands have tailored applications such as HP Smart, Epson Scan, or Canon IJ Scan Utility that not only ease the scanning process but also ensure we can send scanned documents directly to our email seamlessly.
To begin, we need to download the software. This can be done by navigating to the official website of our printer’s manufacturer.
It’s important to select the most recent version available since updates often include bug fixes and enhancements that improve functionality.
If we’ve never done this before, it might feel daunting, but rest assured, most manufacturer’s websites are user-friendly and designed to provide straightforward paths for downloading necessary drivers or applications.
After securing the software package appropriate for our model, it’s time to install it onto our computer.
When we proceed with the installation, just follow the on-screen prompts carefully.
Most of us will probably navigate through a few simple steps including accepting terms and conditions and choosing an installation path.
Occasionally, we might even be given options for custom installations where we can opt-in or out of additional features.
It’s best to go through these options, as they may offer added functionalities that enhance our experience – however, sticking with default settings is perfectly fine if we’re unsure.
Once the software is installed correctly, we should prepare to run through the initial setup, where things get truly personalized.
The initial setup phase is where some software can really shine. It typically guides us through configuring core settings like enabling scan-to-email functionality.
During this stage, we’re likely prompted to enter valuable information such as our email address, SMTP server details, and login credentials if required.
This is also a great opportunity for us to familiarize ourselves with any additional settings or preferences tailored specifically for our workflow needs—like specifying file formats for scanned documents or adjusting resolution options based on what we’ll be scanning.
Successfully installing the required software simplifies our scanning tasks while uplifting our overall productivity when using the scan-to-email feature on our printer.
With everything set up properly, we can now focus on activating the next essential component of this process, ensuring all settings are optimized for efficient use.
Enabling Scan-to-Email Function
To begin, we first need to access the menu of our printer.
This step is essential as it provides us with the control we need over how our documents will be scanned and sent via email.
When we approach the printer’s control panel, we should look for options like ‘Services’ or ‘Scan Settings.’
Here, we’ll see ‘Scan to Email Setup’ as one of the available features. Selecting this option opens the door to customizing our scanning experience.
Once we’ve accessed the setup menu, we’ll be prompted to input various details necessary for enabling the scan-to-email function.
This includes entering our sender’s email address, which establishes who the scanned documents will come from.
It is crucial that we double-check that this address is accurate; any errors could result in failed email deliveries later on.
Furthermore, many printers also require SMTP server settings, which can usually be found through a quick online search on our email service provider’s website. For most providers, common information needed includes:
| Parameter | Details |
|---|---|
| Server Address | smtp.gmail.com (for Gmail) |
| Port Number | Typically 587 (for TLS) |
Taking the time to fill these fields out correctly right away not only saves us a headache later but will ensure smooth operations when we start scanning documents.
After setting everything up, it’s time for an important step: testing the function. We should place a test document on the scanner and select ‘Scan to Email.’
Once we’ve chosen a recipient from our contacts or by typing in their email address directly, we simply hit ‘Send.’
Watching for the confirmation message that indicates the document has been sent allows us to verify whether everything is functioning as expected.
With this function enabled and successfully tested, it’s vital for us to consider strategies for maintaining security and privacy as we utilize this convenient feature further.
Ensuring Document Security and Privacy
We’re all aware of the importance of keeping our private information away from prying eyes, especially when it involves emails containing sensitive documents. When we scan a document to email, the potential for interception increases if adequate measures aren’t in place.
We must remember that using a standard email provider may not provide enough protection against cyber threats.
That’s why using secure, encrypted email services like ProtonMail can make a world of difference.
These platforms offer end-to-end encryption, meaning that only the sender and intended recipient can access the contents, fundamentally enhancing our security.
But enabling encryption is just the beginning; there’s more we can do to safeguard our information while using our scan-to-email printers.
Enable Encryption
First and foremost, we should enable SSL/TLS encryption for outgoing emails in our email settings.
SSL (Secure Sockets Layer) and TLS (Transport Layer Security) protocols create a secure connection between our printer and email server during the transmission.
This shield helps prevent unauthorized access to any data sent over the internet.
It’s simple to activate; often, it means checking a box in our email client settings.
Additionally, many modern printers come with built-in features for secure scanning.
I strongly recommend checking our user manual for specifics on how to enable these functions on our devices.
These protections work in tandem with encrypted emails for a multi-layered approach to security.
Update Firmware Regularly
Another key aspect of maintaining document security is keeping our printer’s firmware updated.
Just as we regularly update software on our computers or smartphones, it’s essential to ensure that our printers have the latest security patches installed.
By doing this, we protect ourselves from vulnerabilities that could be exploited by cybercriminals.
Whenever we receive notifications about updates from the manufacturer, we should act promptly; these updates may contain important fixes for known security loopholes.
With these secure settings in place, we can confidently use the scan-to-email feature, knowing our documents are protected from potential threats.
By following these steps diligently, we enhance both security and privacy, allowing us to focus on what truly matters—our work without worry.
Taking these precautions ensures that we are safeguarding our information effectively while enjoying the convenience of digital communication. Protecting your documents is not just important; it’s essential in today’s digital landscape.
Using Mobile Apps for Scan to Email

Alright, let me tell you about my journey with mobile apps for scan to email. It’s been quite the rollercoaster, but I’ve learned a ton along the way!
First things first, let’s talk about these manufacturer-specific apps. Most printer brands have their own apps these days. HP, Canon, Epson – they’ve all jumped on the bandwagon.
I started with my trusty old HP printer, so I downloaded the HP Smart app. It was pretty slick, I gotta say. But here’s the thing – these apps aren’t created equal. Some are super intuitive, while others… well, let’s just say they could use some work.
Now, setting up scan to email on your mobile device might sound daunting, but trust me, it’s not rocket science. Here’s a quick rundown of what worked for me:
- Download your printer’s app from the app store. Make sure it’s the official one!
- Open the app and let it search for your printer. If it doesn’t find it automatically, you might need to add it manually.
- Once your printer’s connected, look for the scan option. It’s usually pretty prominent.
- Select ‘Scan to Email’ or something similar. You might need to set up an email account in the app if you haven’t already.
- Position your document, hit scan, and voila! Your scanned doc should wing its way to your inbox.
Sounds easy, right? Well, it usually is, but sometimes things go a bit wonky. I remember this one time when I was trying to scan an important contract.
The app just wouldn’t connect to my printer. Talk about frustrating! But don’t worry, I’ve got some troubleshooting tips for you.
If you’re having connectivity issues, first check the basics. Is your Wi-Fi on? Is your printer turned on and connected to the same network? You’d be surprised how often it’s something simple like that.
I once spent an hour troubleshooting only to realize my printer was in sleep mode. D’oh!
Another trick I’ve learned is to restart both your phone and your printer. It’s like magic sometimes – things just start working again.
If that doesn’t do the trick, try uninstalling and reinstalling the app. I’ve had to do this a couple times, and it usually sorts out any weird glitches.
Oh, and here’s a pro tip: make sure your app is up to date. Manufacturers are always tweaking things, and sometimes those updates fix bugs or add new features.
I once couldn’t figure out why my scans were coming out all fuzzy. Turns out, an app update fixed the image quality issues I was having.
Now, I gotta admit, sometimes these apps can be a bit finicky. There was this one time when my scans kept failing to send. Turns out, my email settings in the app were outdated.
So if you’re having persistent issues, double-check your email configuration in the app settings. It might just save you a headache or two.
The cool thing about using mobile apps for scanning is the flexibility. I mean, I’ve scanned documents while sitting on my couch, in coffee shops, even at the park once (don’t ask, it was an emergency!).
Just remember to be mindful of sensitive documents when you’re out and about.
At the end of the day, these mobile scan to email apps have been a real lifesaver for me.
Sure, there’s been some trial and error, but the convenience is totally worth it.
Plus, it’s kinda satisfying to watch that paper clutter disappear, one scan at a time.
So, give it a shot! Download your printer’s app and start scanning.
And hey, if you run into any snags, just remember – we’ve all been there.
A little patience and troubleshooting goes a long way. Happy scanning!

Recent Posts
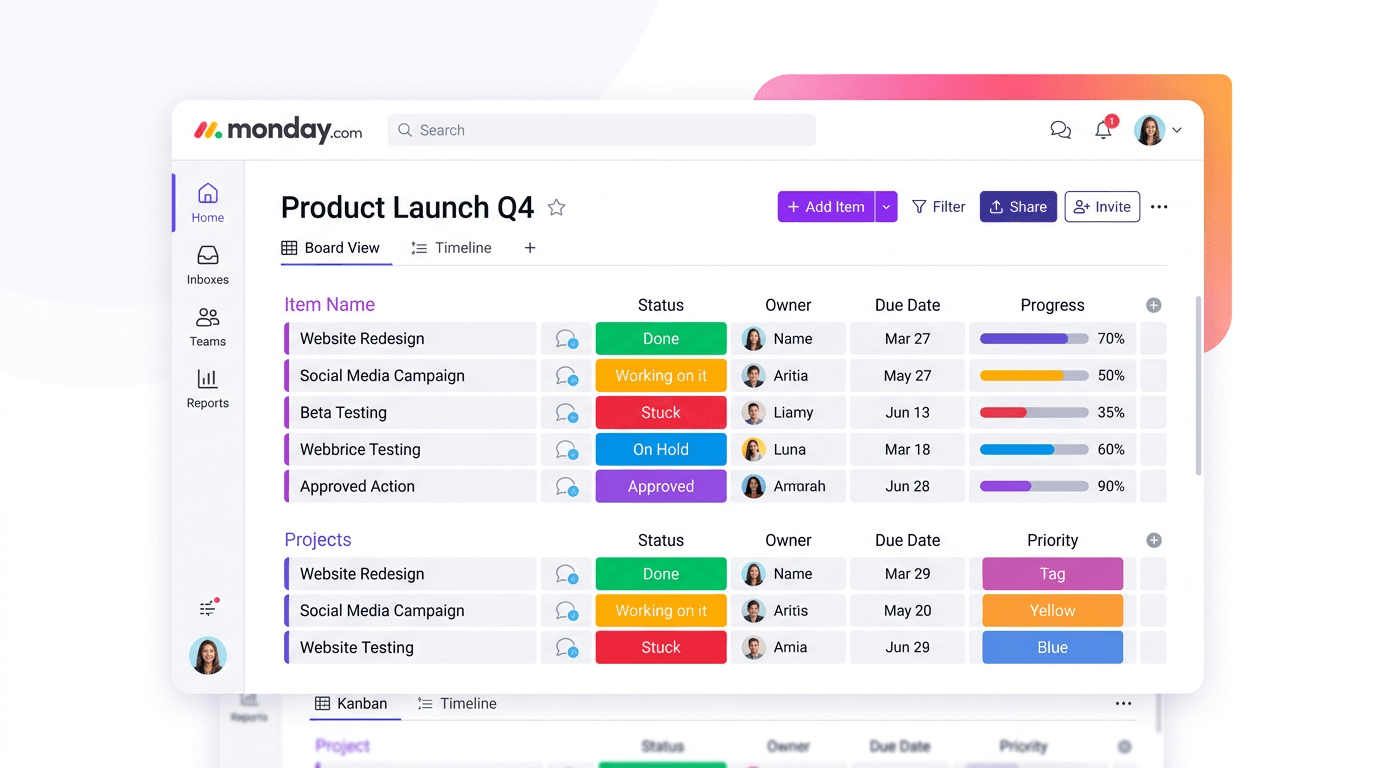
Monday.com Review 2026: Is It Still the Best Work OS?
I tested Monday.com against ClickUp, Asana, and Wr...
Updated May 30, 2026

AI Writing Software for Blogging in 2026: Best Tools + How to Stay AI-Search Vis...
The best AI writing software for blogging in 2026 ...
Updated May 30, 2026
HubSpot Review 2026: Is It Worth the Cost?
I tested HubSpot’s free CRM, Starter, and Pr...
Updated May 29, 2026
Teamwork.com Review 2026: Is It the Best PM Tool for Client Work?
I tested Teamwork.com for agency and client projec...
Updated May 29, 2026
Wrike Review 2026: Is It Worth the Cost?
I tested Wrike in real enterprise workflows. Here&...
Updated May 29, 2026
Asana Review 2026: Is It Worth It? (Honest, In-Depth Analysis)
I tested Asana across real team workflows. Here...
Updated May 29, 2026
Newsletter
Don't miss a thing!
Sign up to receive daily news