

Updated May 13, 2026
How to Use Scan to Email Printer Features: Easy Tips for 2025
Table of Contents
Remember the last time you had to scan a document, save it to your computer, find the file, and then attach it to an email?
What a hassle!
In today’s fast-paced world, every minute counts, and that’s where scan to email printer features come to the rescue.
According to a recent productivity study, professionals save an average of 3-5 minutes per document using direct scan to email functionality—that might not sound like much until you realize it adds up to hours reclaimed each month!
Whether you’re running a small business or just trying to manage your household paperwork, understanding how to leverage this powerful feature can transform your document workflow from tedious to effortless.
Join me as I share what I’ve learned after years of using this game-changing technology!
Understanding Scan to Email Functionality
The scan to email function is essentially your printer’s superpower to send scanned documents directly to email recipients without a computer middleman.
Think of it as a direct digital pipeline from your physical document to someone’s inbox!
The advantages go far beyond simple convenience:
- Massive time savings – Skip multiple steps in the traditional scan-save-attach process
- Reduced error potential – No more forgetting attachments or sending the wrong version
- Lower hardware requirements – No need for a dedicated computer connected to your scanner
Compared to traditional scanning methods, the scan to email workflow is remarkably streamlined.
Instead of the multi-step dance of scanning to a computer, finding the file, renaming it, composing an email, and attaching the document, you simply place your document on the scanner, select email, enter an address, and press send!
When you scan to email, your document is temporarily stored in your printer’s memory, converted to a digital format (usually PDF or JPEG), and then sent as an email attachment through your configured email server.
Unless you’ve set up your printer to save copies to a network folder or cloud storage, the document isn’t saved permanently.
I learned this the hard way when I needed to resend a document but hadn’t saved a copy.
Now I always make sure to either CC myself or configure my printer to save backups to our shared drive.Your future self (and your boss) will thank you!
Setting Up Scan to Email on Different Printers
Getting your printer configured for scan to email functionality might seem intimidating at first, but the process follows a similar pattern across most brands:
For HP printers, the setup typically involves:
- Finding the Email Setup or Scan to Email option in your printer’s menu
- Entering your email server information (SMTP settings)
- Setting up authentication with your username and password
- Testing the connection before finalizing
Remember that your printer needs a stable WiFi connection before you can even think about email functionality.
Position your printer away from microwaves and cordless phones for the most reliable connection—kitchen appliances can be surprising productivity saboteurs!
For most personal email accounts, these SMTP settings have saved me countless headaches:
- Gmail: smtp.gmail.com (Port 587)
- Yahoo: smtp.mail.yahoo.com (Port 587)
- Outlook/Hotmail: smtp.office365.com (Port 587)
You might need to enable “Less secure app access” in your email settings or generate an app password if you’re using two-factor authentication.
I discovered this after a frustrating week of error messages that nearly drove me to give up on the whole process!
Some advanced printers even have their own email addresses, allowing you to:
- Send documents to print from anywhere in the world
- Forward emails directly to your printer
- Let family members print without installing drivers
After going through multiple printers over the years, I’ve found that business-oriented models generally offer more robust email features than budget home printers.
Look for helpful capabilities like OCR, address book storage, customizable scan profiles, and preview-before-sending functionality.riendly features, and you’ll wonder how you ever managed without them!
Troubleshooting Common Scan to Email Issues
When scan to email suddenly stops working, the frustration can be overwhelming! The most common culprits include:
- Email security changes – Your provider might have updated their security protocols
- Network connection issues – Check if your printer’s WiFi connection is stable
- Outdated firmware – Printer manufacturers regularly release updates
- Incorrect settings – Someone might have accidentally changed a configuration
Pay attention to specific error messages—they often point to the exact problem:
- “Authentication failed” usually indicates password or security setting issues
- “Connection timeout” typically points to network problems
- “Invalid address” suggests there’s something wrong with the email format
For connectivity problems, try these reliable troubleshooting methods:
- Restart everything – The classic IT solution works more often than you’d think!
- Check physical connections – Ensure all cables are properly connected
- Verify WiFi settings – Confirm your printer is connected to the right network
- Try a direct connection – Sometimes an ethernet cable can help diagnose wireless issues
If your connectivity is fine but emails still aren’t sending, check these email server settings:
- Verify SMTP server address and port numbers
- Update authentication credentials
- Check SSL/TLS encryption settings
- Confirm your sender address matches your account
If all else fails, consider alternatives like scanning to a shared network folder or cloud service.
During an office email server migration, I discovered that scanning to a shared Google Drive folder actually worked better for our team than individual emails!
Optimizing Scan Quality and Format
Not all documents are created equal, and neither should be your scan settings. For text documents, aim for:
- Resolution: 300 DPI for crisp text without excessive file size
- Color mode: Black and white or grayscale works perfectly
- Format: PDF with OCR enabled for searchability
- Contrast: Slightly higher than default to make text pop
When scanning photographs or colorful graphics, adjust to:
- Resolution: 600 DPI for photos you might want to print later
- Color mode: True color (24-bit or higher)
- Format: JPEG or TIFF depending on intended use
- Compression: Low or none for important images
The choice between PDF, JPEG, and TIFF formats depends on your specific needs:
- PDF is ideal for business documents, forms, and text-heavy content
- JPEG works best for photographs and color-heavy graphics
- TIFF is the quality champion for archival purposes or professional printing
Making your scanned documents searchable with OCR (Optical Character Recognition) technology transforms them from static images to actionable information.
This breakthrough technology converts your scanned text into actual editable text, allowing you to search through hundreds of pages in seconds!
Finding the perfect balance between quality and file size is crucial for email attachments.
Most email systems have a 10-25MB attachment limit, so consider these techniques:
- Use PDF with text compression for multi-page documents
- Adjust JPEG compression (80% quality often reduces file size by half with minimal visible loss)
- Scan in grayscale instead of color when appropriate
- Look for “optimize for email” presets in your scanning software
One trick that’s saved me countless headaches: scan text documents as black and white at 300 DPI, then use PDF compression.
This approach has allowed me to email 30-page contracts that remain perfectly readable while keeping the file under 2MB!
Alternative Scanning Solutions

Sometimes thinking outside the traditional scanner box can lead to surprising results.
Modern smartphones with specialized scanning apps can produce results rivaling dedicated scanners with features like:
- Auto-edge detection for perfectly straightened documents
- Perspective correction for those awkward scanning angles
- Built-in OCR for extracting searchable text
- Batch scanning for multi-page documents
- Direct sharing to email or cloud storage
My favorite smartphone scanning trick: using burst mode for multi-page documents.
I flip through pages at a steady pace while holding down the capture button, then select the clearest shots.
This technique helped me scan a 50-page report in under 5 minutes when our scanner was jammed before a deadline!
Public scanning options are more plentiful than you might realize, with services available at:
- Public libraries (often free or low-cost)
- Shipping stores like UPS or FedEx
- Local print shops
- Some banks and credit unions
- Hotel business centers
For DIY document digitization without a scanner, try these creative approaches:
- Use book stands or improvised tripods for stable overhead photography
- Position documents near windows for even, shadow-free natural lighting
- Place documents on white paper backgrounds to help with edge detection
- Use removable tape to hold documents flat for better results
The most revolutionary approach might be eliminating traditional paper workflows entirely with:
- Digital signature services
- Collaborative online documents
- Digital forms instead of paper ones
- Receipt management apps
- Digital note-taking solutions
The time savings can be incredible.
What used to take hours of scanning and organizing now happens almost instantly.
My favorite example is expense reports—I used to collect paper receipts all month, then spend an afternoon scanning and entering data.
Now I capture receipts digitally the moment I get them, and the report practically builds itself!
Frequently Asked Questions About Scan to Email Features
How do I know if my printer supports scan to email?
Most modern multifunction printers support this feature.
Check your printer’s manual or look for email options in the scan settings menu.
If you don’t see these options, your printer might need a firmware update or may not support the feature.
Do I need an internet connection for scan to email?
Yes, a stable internet connection is essential since the feature works by sending your document through email servers.
Your printer needs to connect to these servers to deliver your scanned documents.
Can I scan to multiple email addresses at once?
Most printers allow you to send to multiple recipients.
You can either enter multiple addresses in the “To” field or set up a group in your printer’s address book if it has that functionality.
What should I do if my scanned documents are too large to email?
Try reducing the resolution (300 DPI is usually sufficient for documents), changing color scans to grayscale or black and white, or using PDF compression.
Many printers also have an “optimize for email” option that automatically adjusts settings to create smaller files.
Is scanning to email secure?
Basic scan to email functions often use standard email protocols, which aren’t encrypted by default.
For sensitive documents, consider using a printer that supports encrypted email or scan to a secure cloud service instead.
And there you have it! These top 10 scan to email printer features are your ticket to a more efficient, productive office in 2024.
From crystal-clear scanning and smart OCR to top-notch security and eco-friendly options, these features will transform your document workflow.
Just imagine – no more frantic searches for lost papers or endless trips to the copy room!
When you’re shopping for your next printer, keep these game-changing features in mind.
Remember, it’s all about working smarter, not harder!
So, why not take the plunge and upgrade your office tech today?
Trust me, your future self (and your stress levels) will thank you. Here’s to a more productive, paperless office future!
Embracing the Digital Document Revolution
The scan to email feature represents just one aspect of the ongoing digital transformation of our document workflows.
What began as a convenient time-saver has evolved into an essential productivity tool for both businesses and individuals.
By understanding how to set up, troubleshoot, and optimize this functionality, you’re positioning yourself at the forefront of efficient document management.
Whether you choose to use a dedicated scanner, your smartphone, or move entirely to digital workflows, the key is finding the system that integrates seamlessly into your daily life.
The perfect solution isn’t necessarily the most expensive or feature-rich option—it’s the one that you’ll actually use consistently.
Ready to reclaim those hours spent on manual scanning?
Your printer’s scan to email feature might just be the productivity hack you’ve been looking for all along.
Start with the basics, experiment with different settings, and watch as your document management system transforms from a source of frustration to a model of efficiency!

Recent Posts
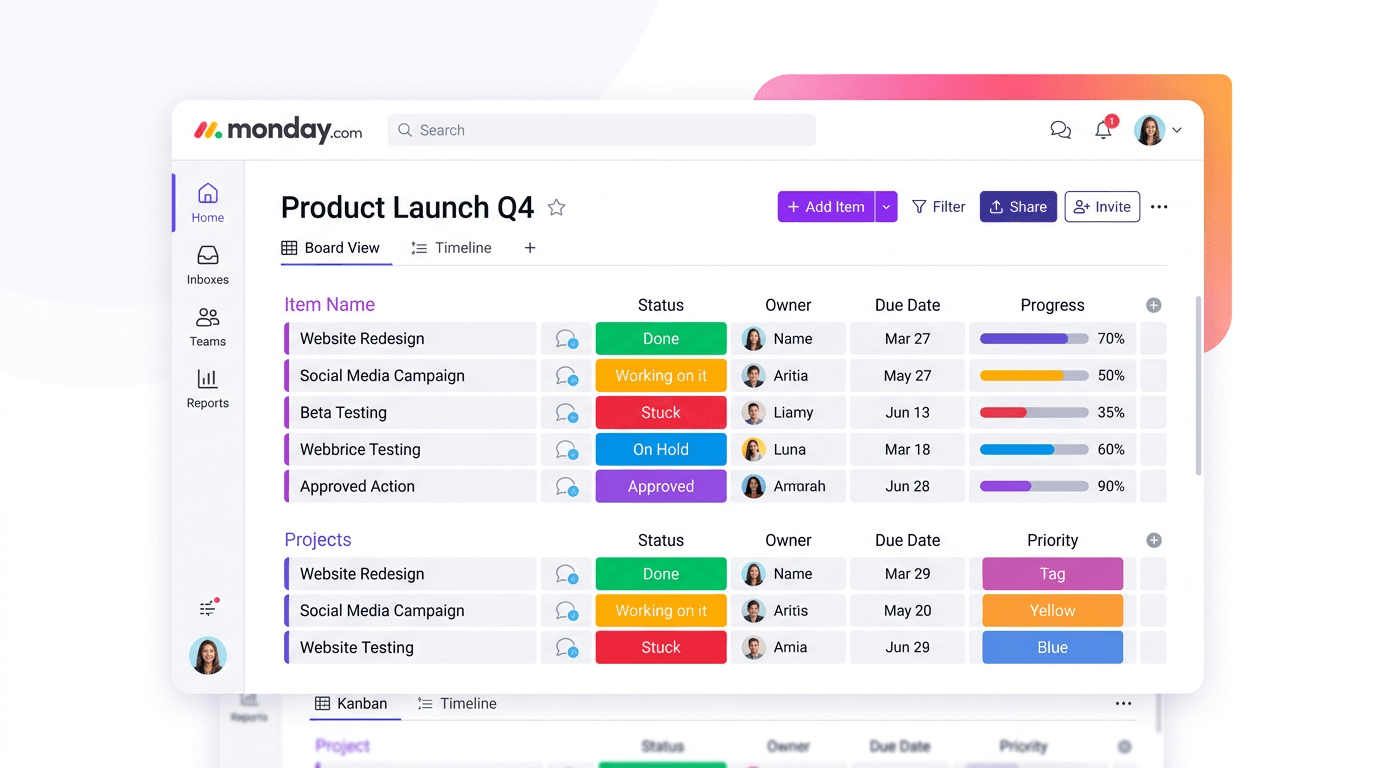
Monday.com Review 2026: Is It Still the Best Work OS?
I tested Monday.com against ClickUp, Asana, and Wr...
Updated July 21, 2026

AI Writing Software for Blogging in 2026: Best Tools + How to Stay AI-Search Vis...
The best AI writing software for blogging in 2026 ...
Updated July 20, 2026
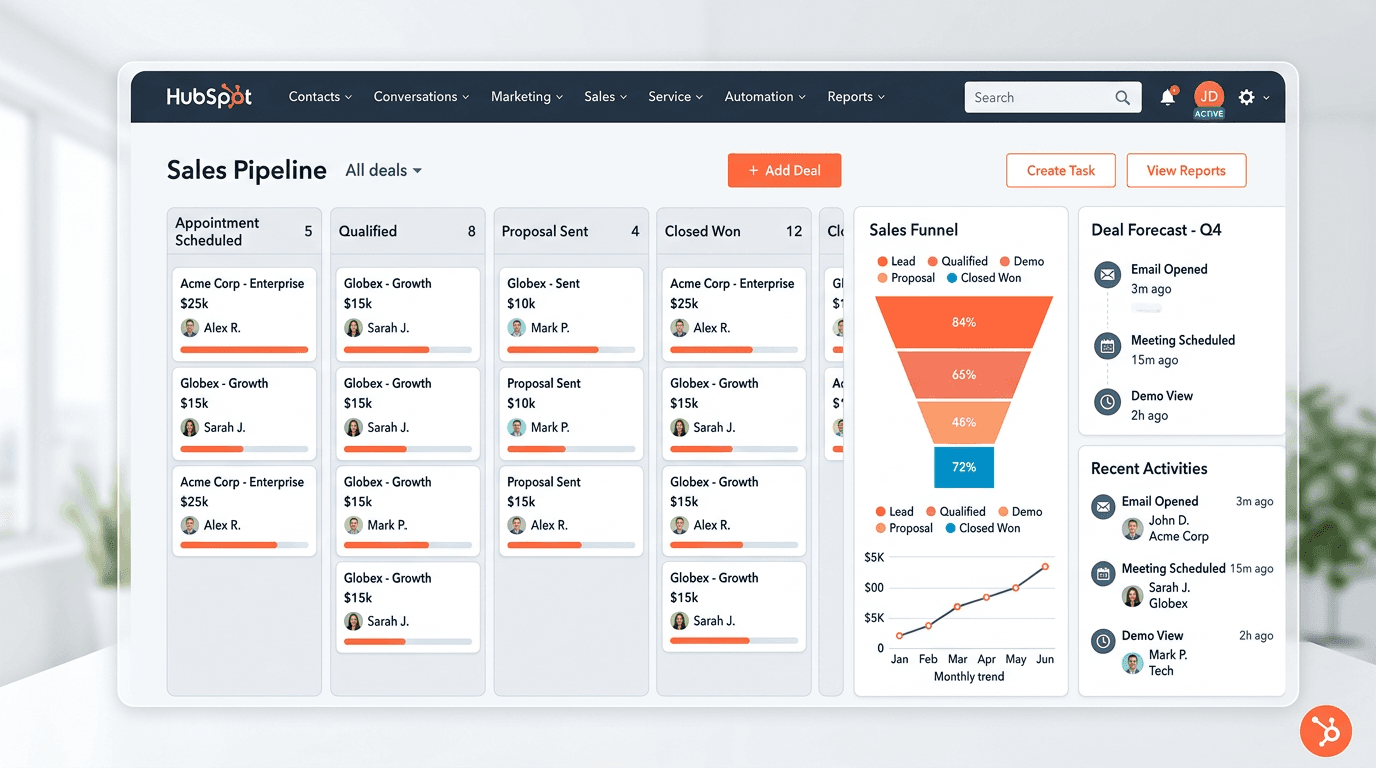
HubSpot Review 2026: Is It Worth the Cost?
I tested HubSpot’s free CRM, Starter, and Pr...
Updated July 20, 2026
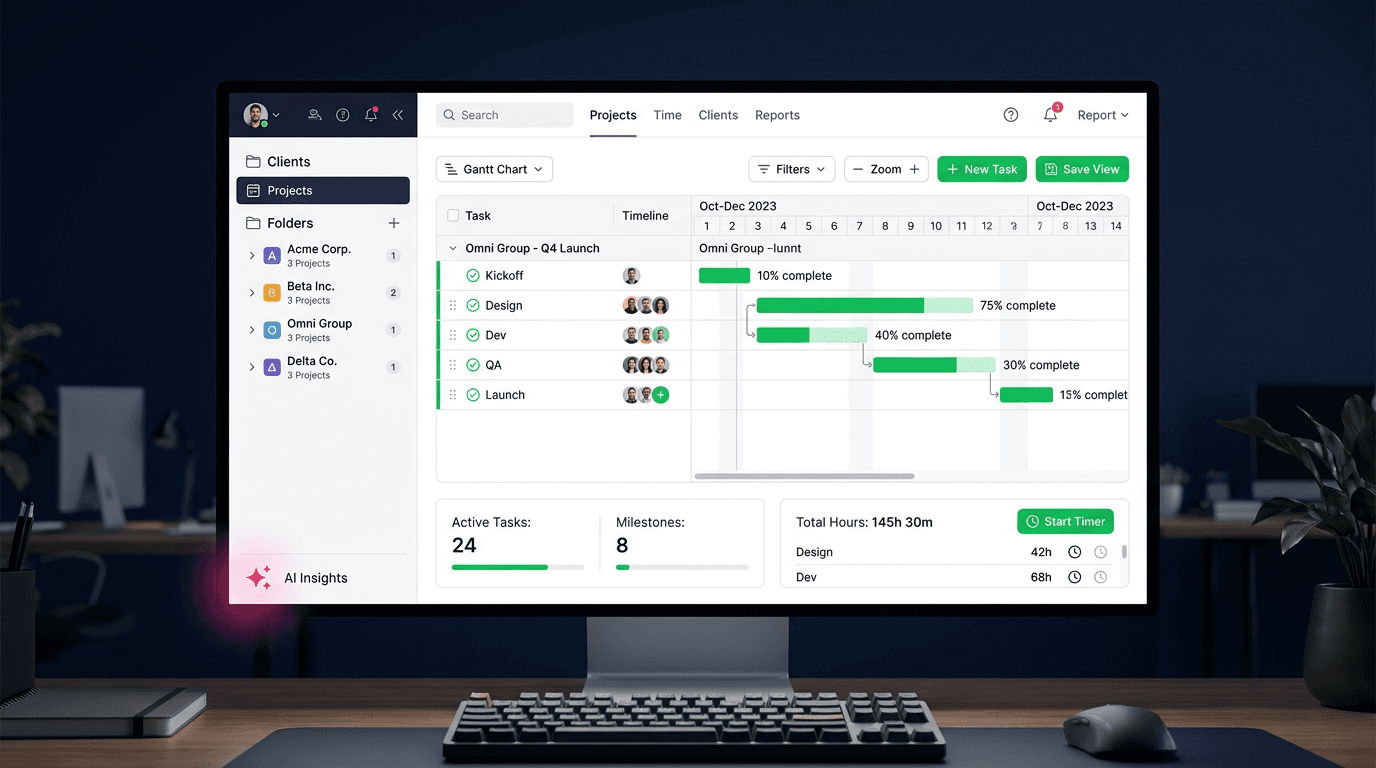
Teamwork.com Review 2026: Is It the Best PM Tool for Client Work?
I tested Teamwork.com for agency and client projec...
Updated May 29, 2026
Wrike Review 2026: Is It Worth the Cost?
I tested Wrike in real enterprise workflows. Here&...
Updated May 29, 2026
Asana Review 2026: Is It Worth It? (Honest, In-Depth Analysis)
I tested Asana across real team workflows. Here...
Updated May 29, 2026
Newsletter
Don't miss a thing!
Sign up to receive daily news